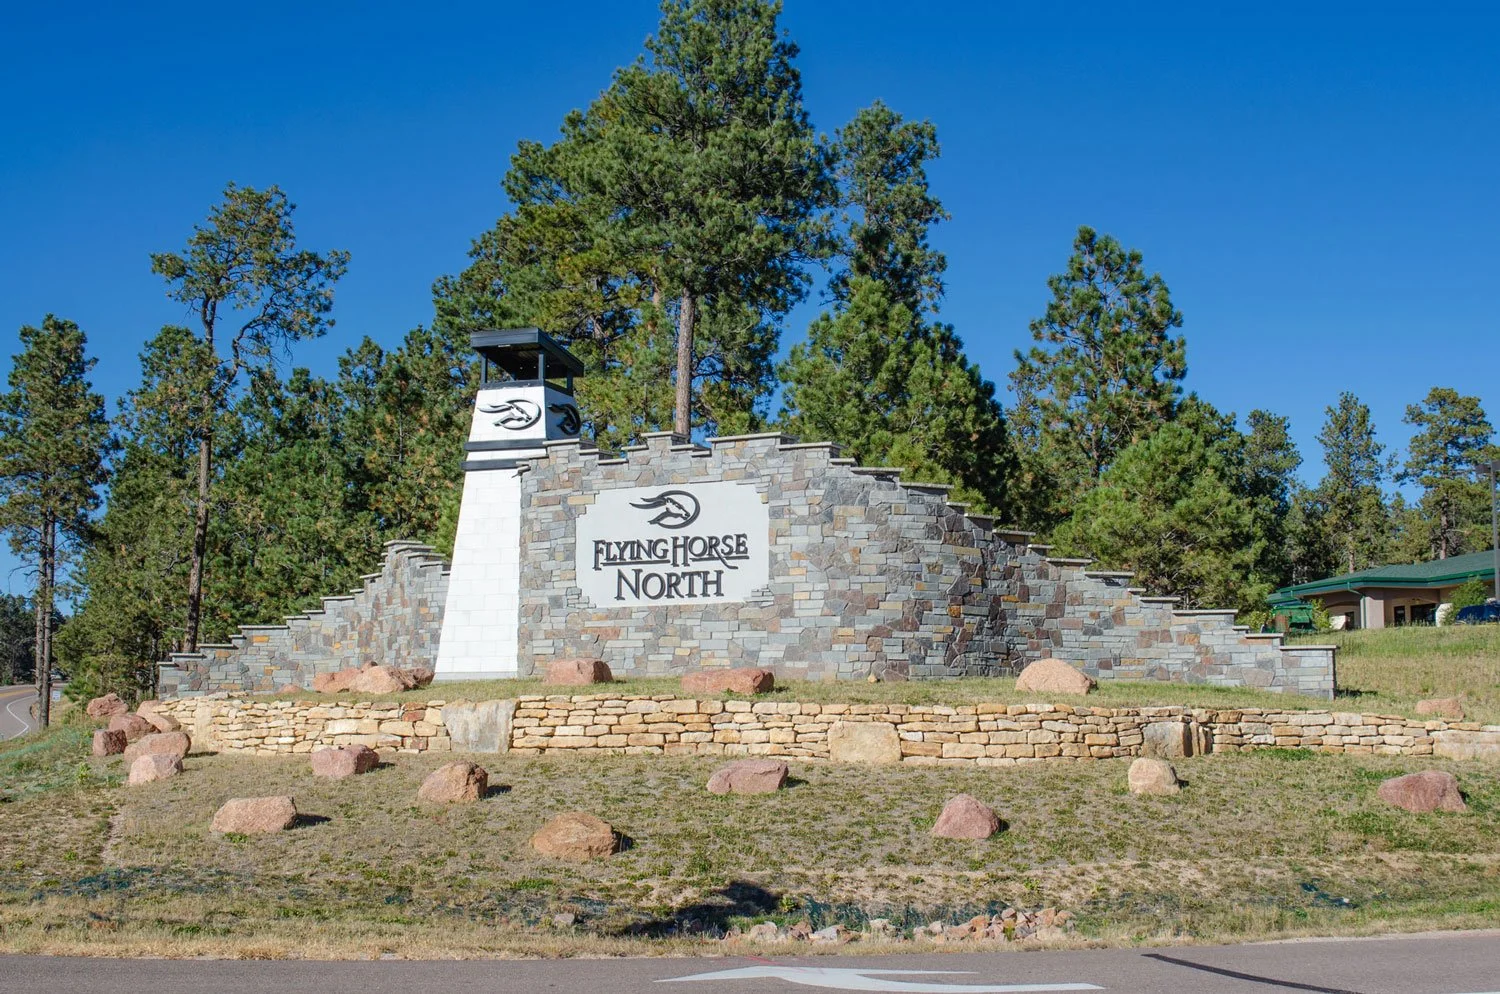
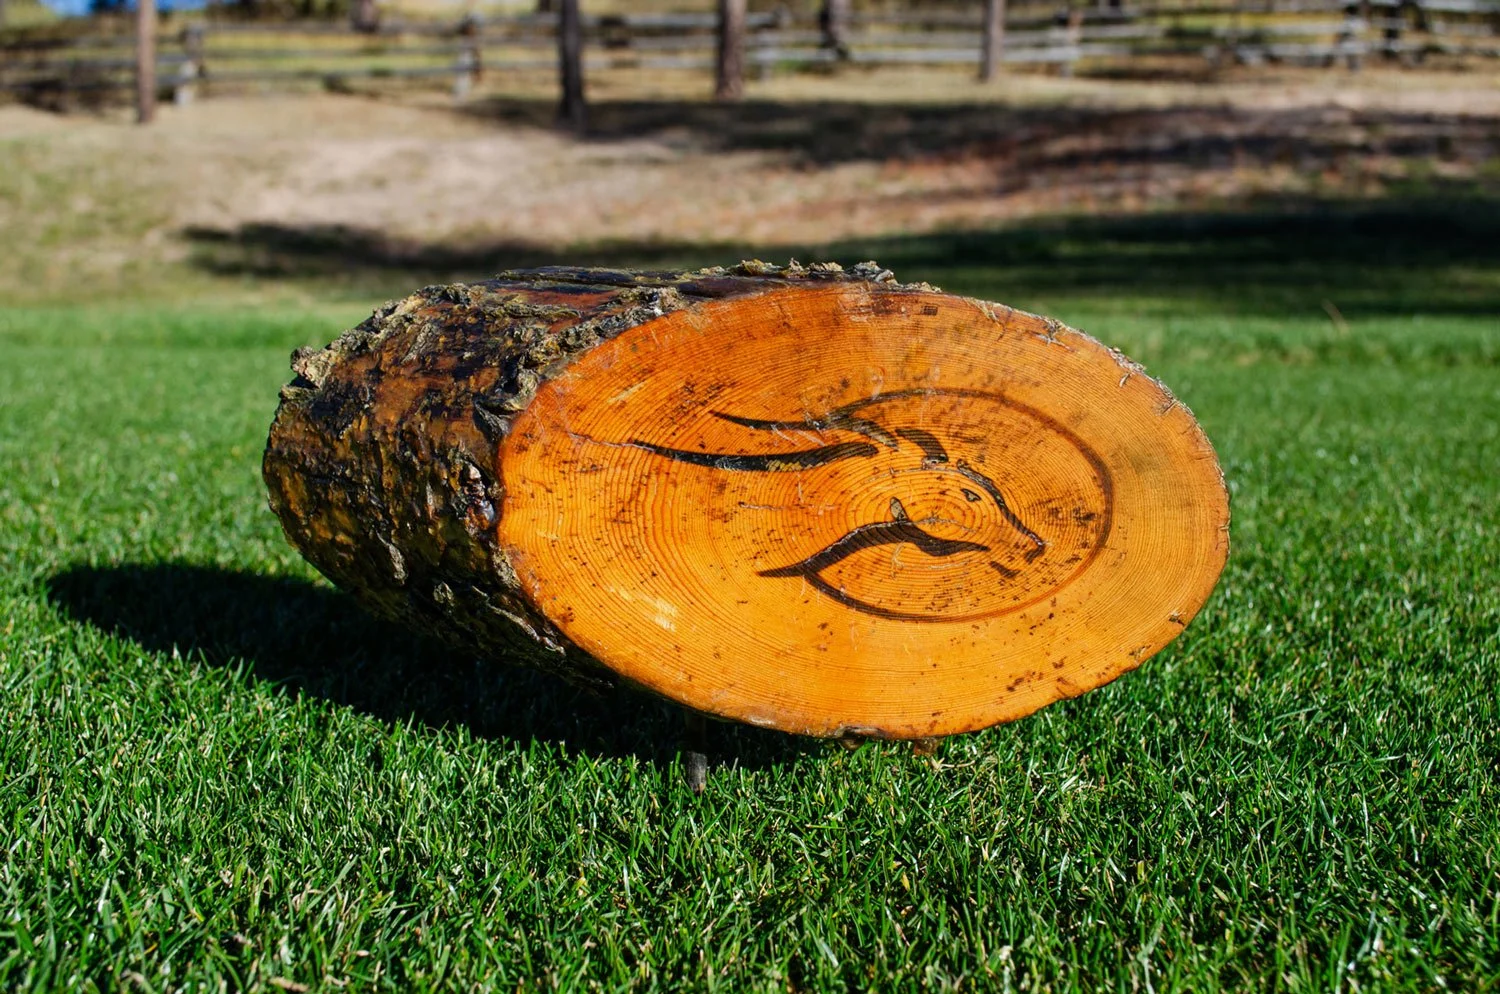
FLYING HORSE NORTH
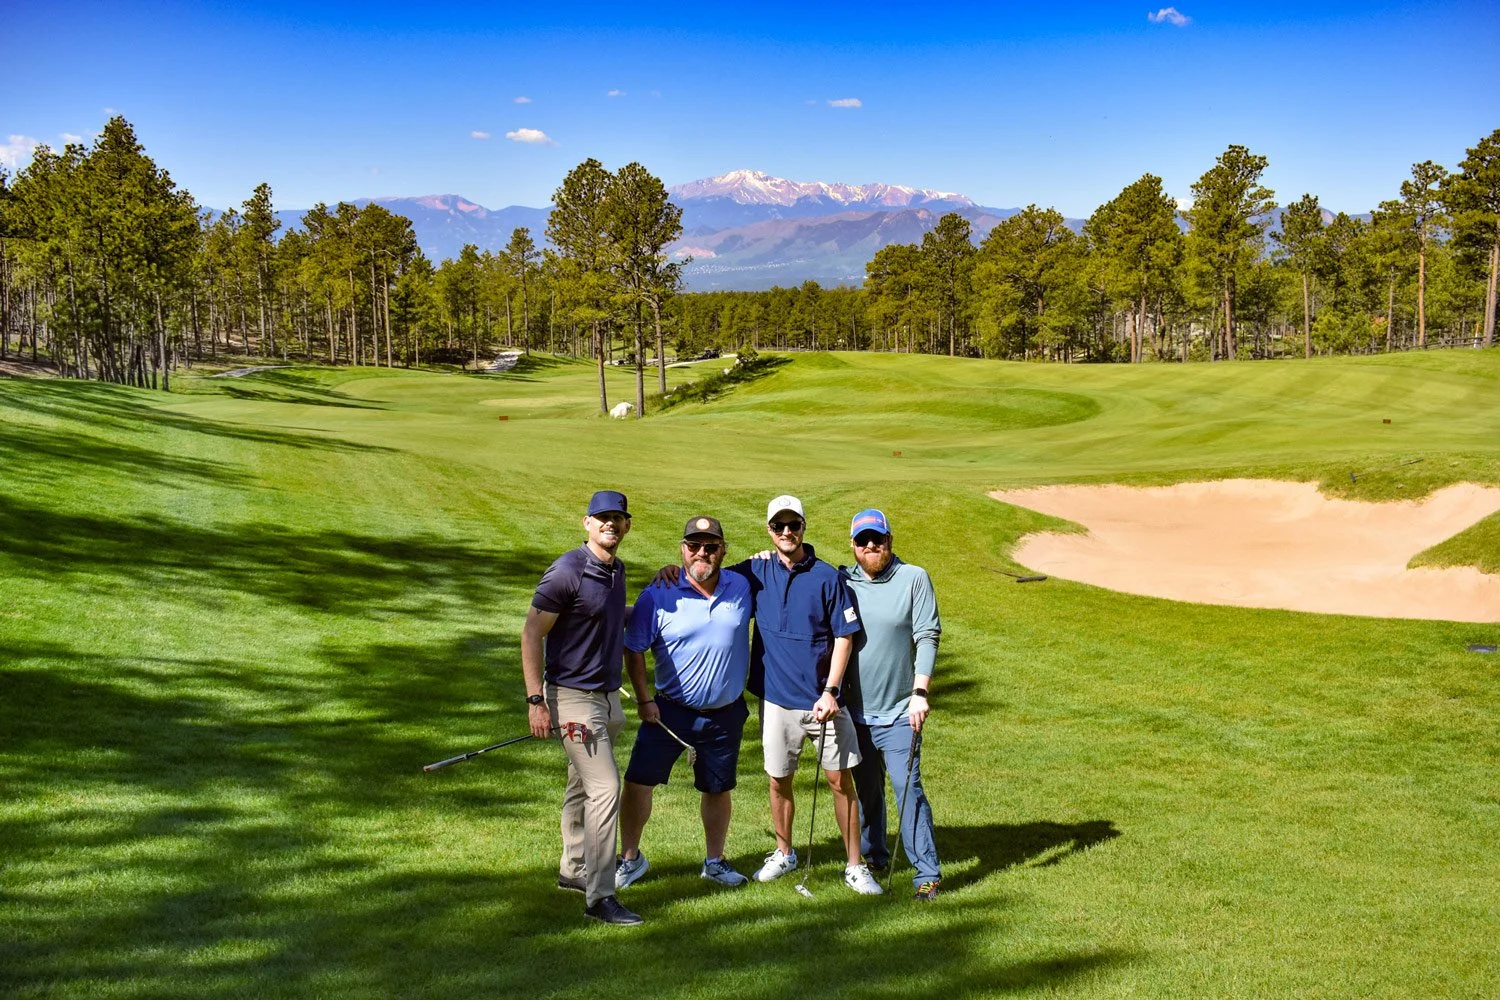
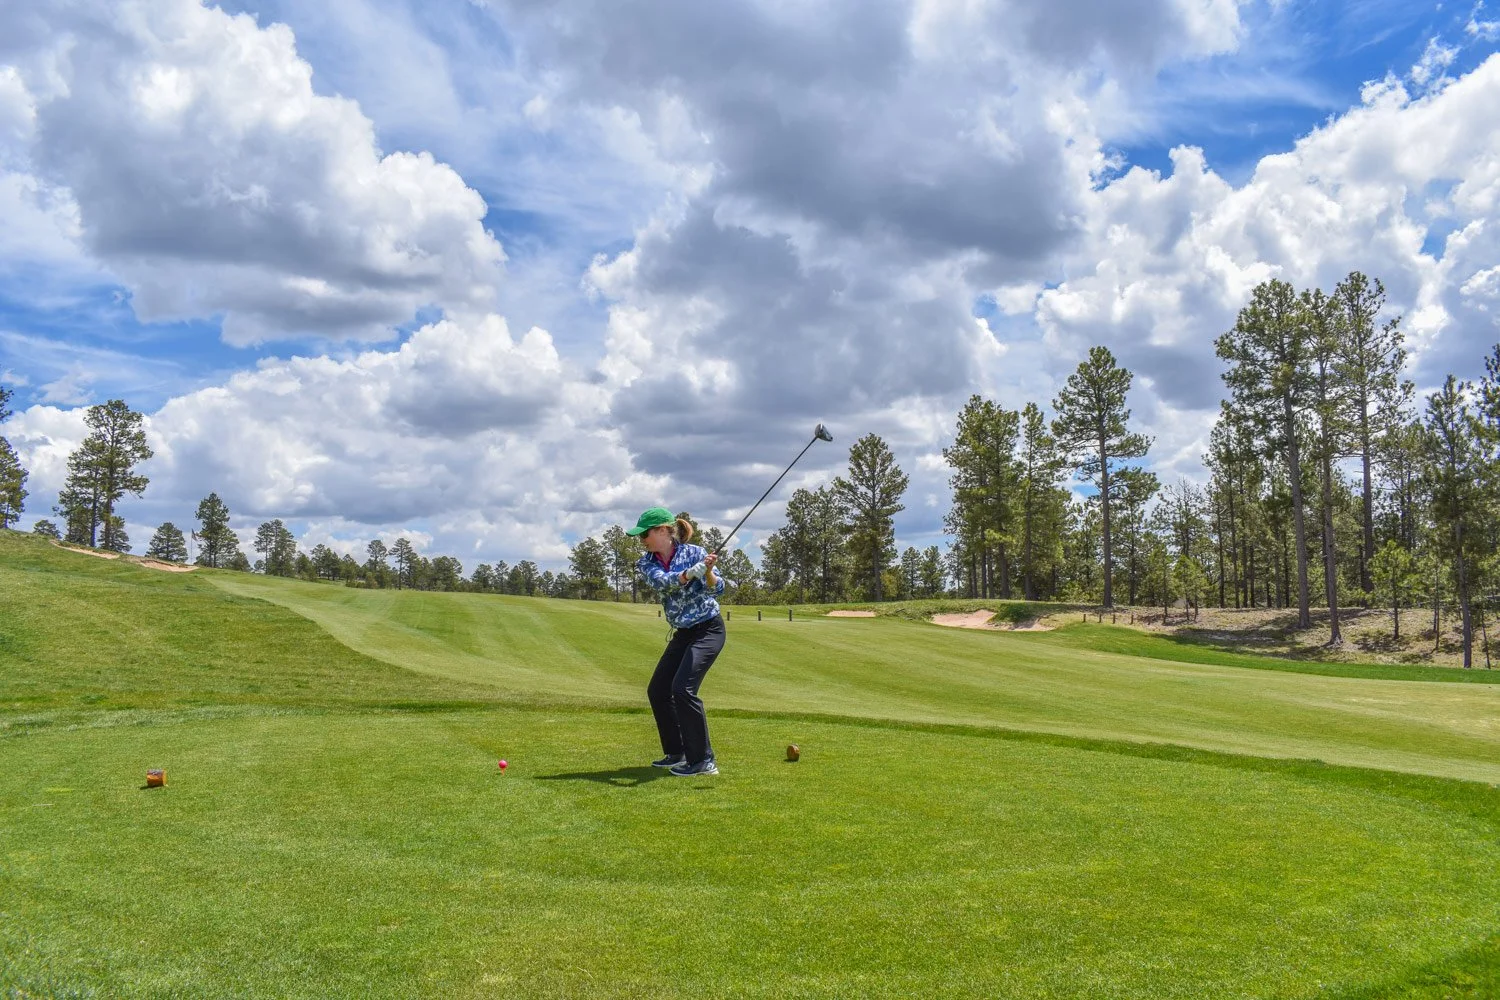
A Golf Experience Like None Other
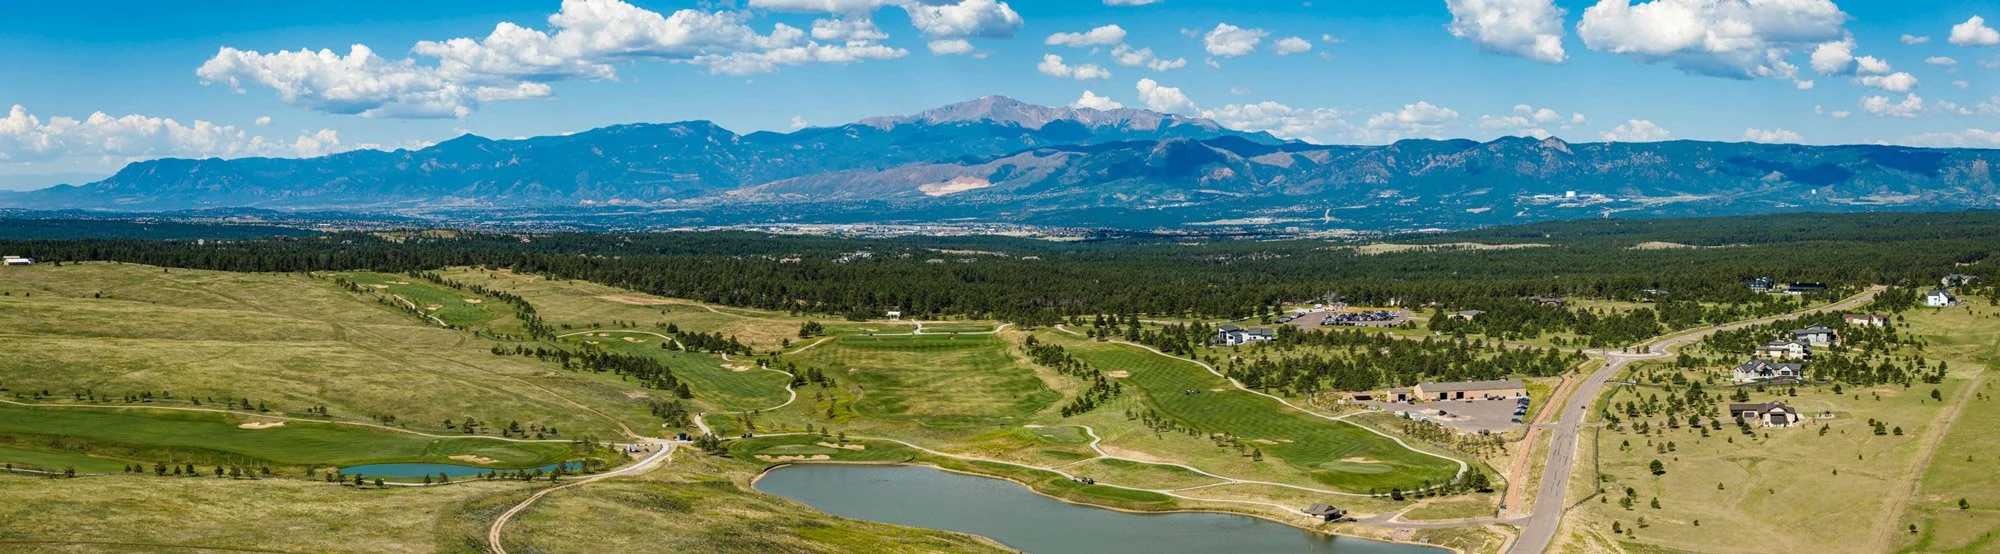
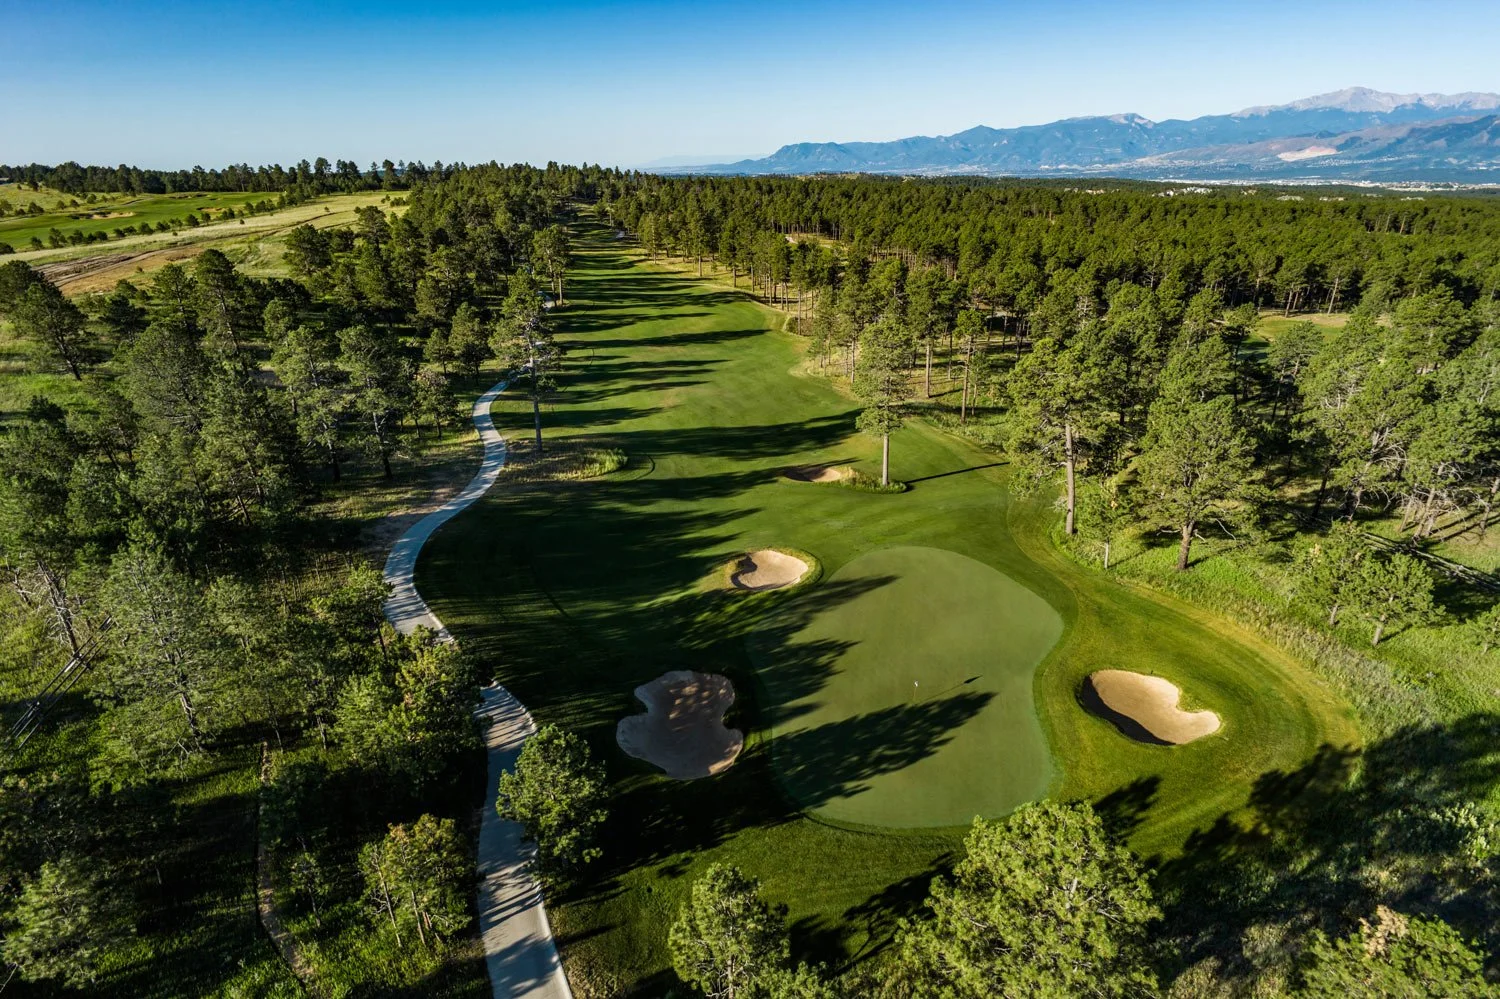
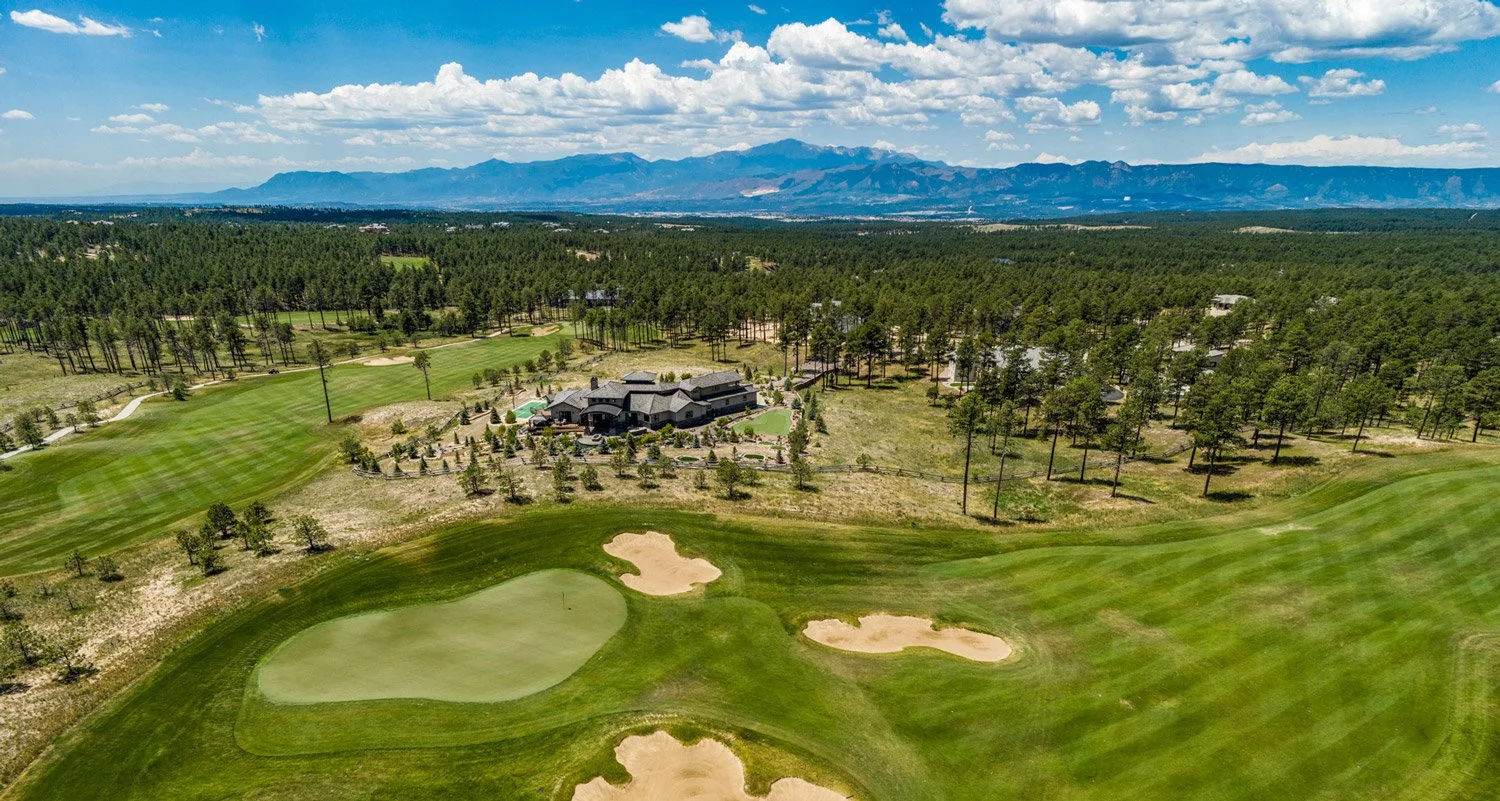
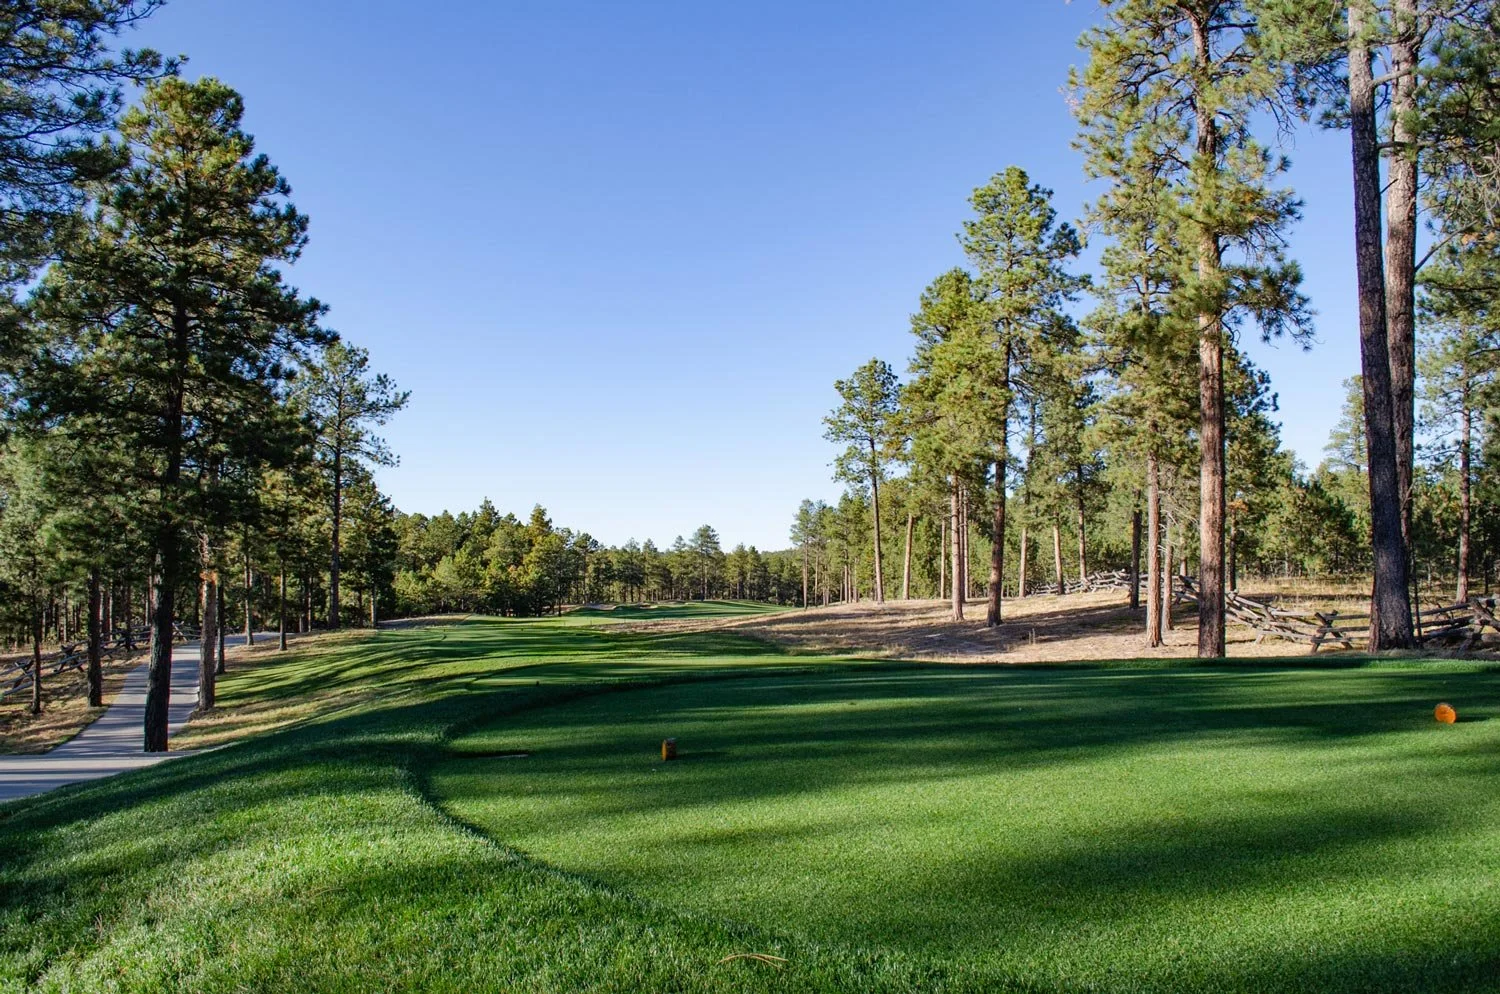
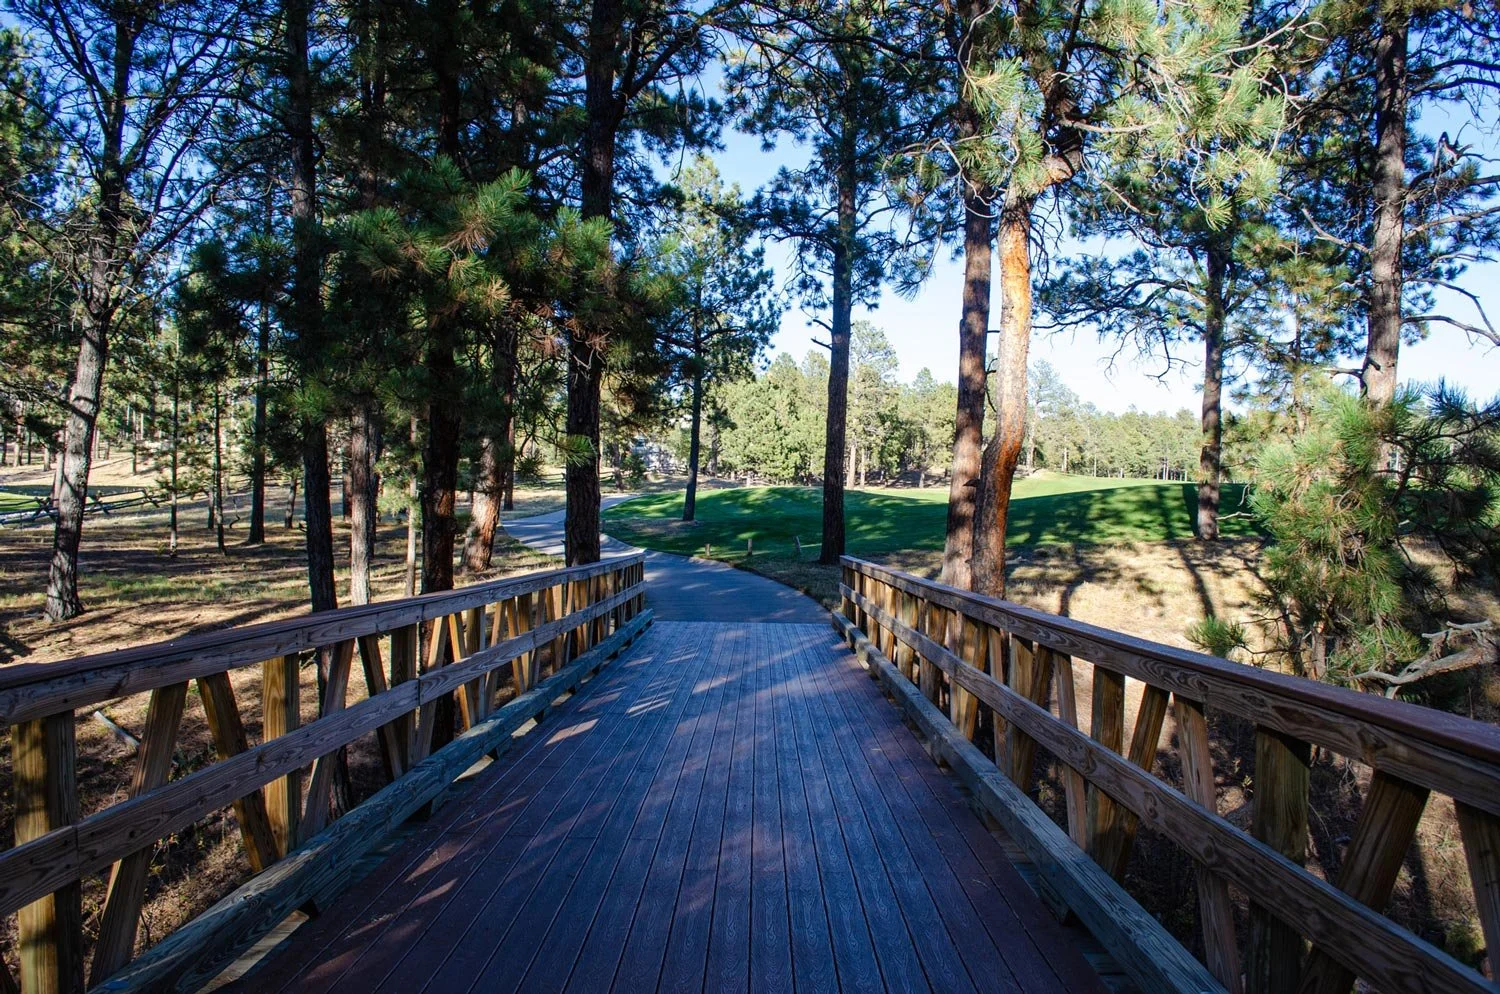
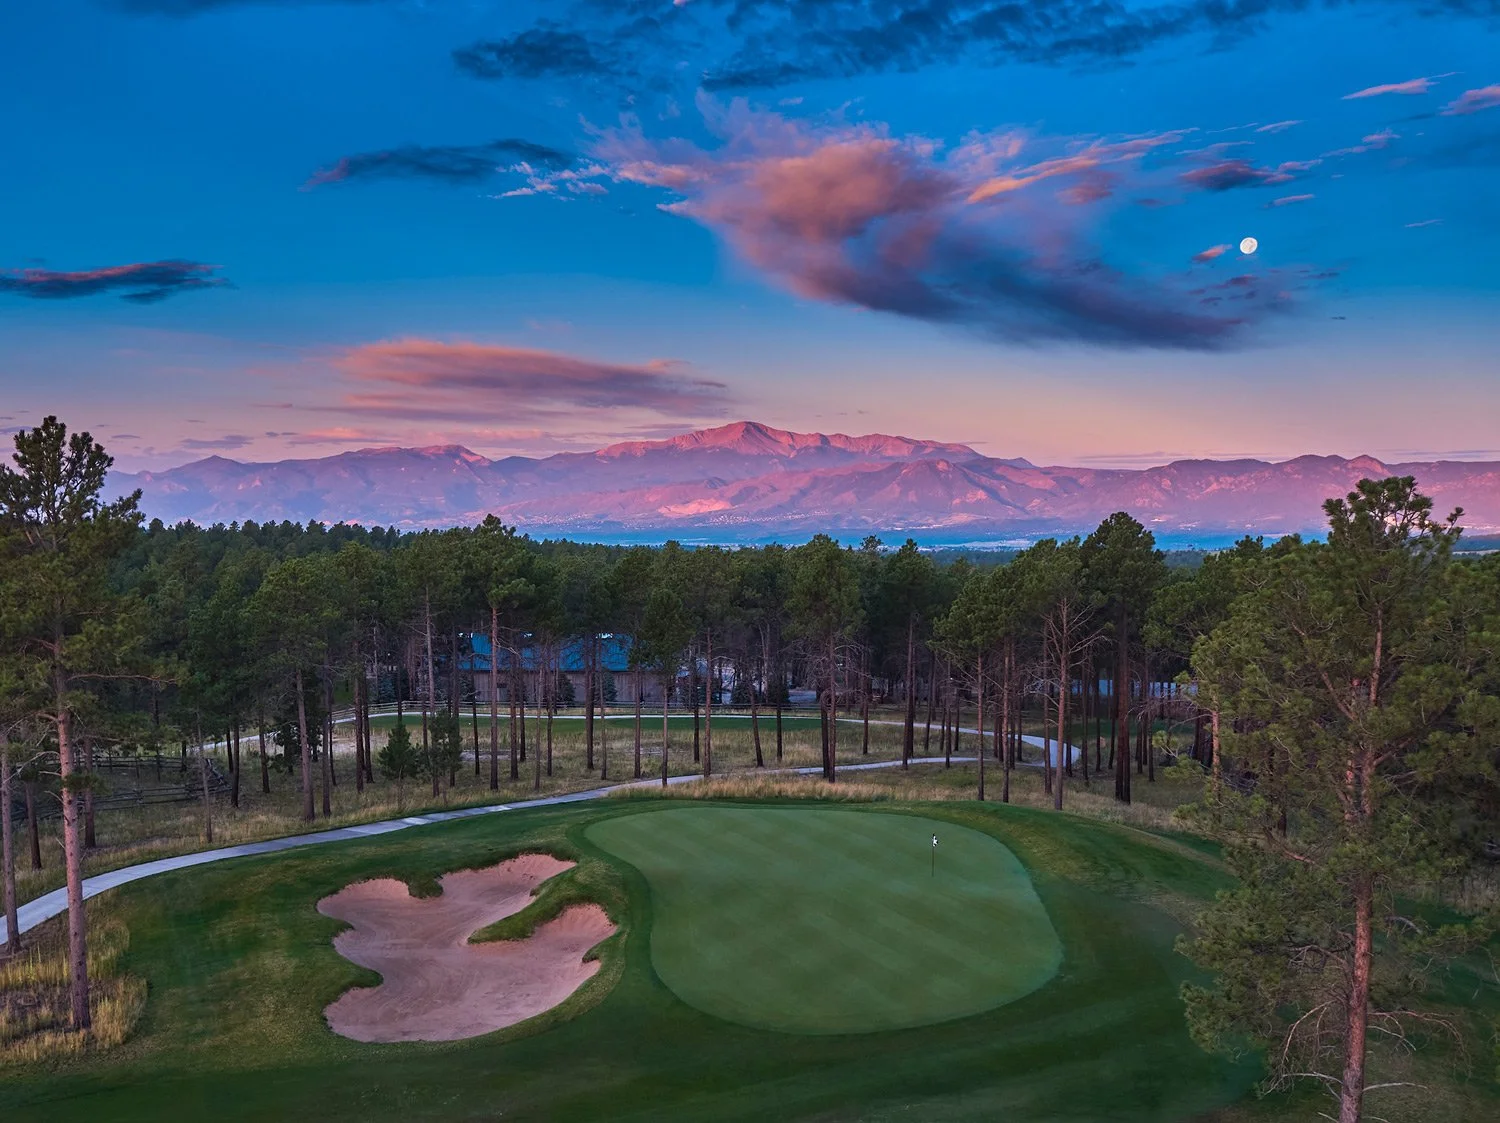
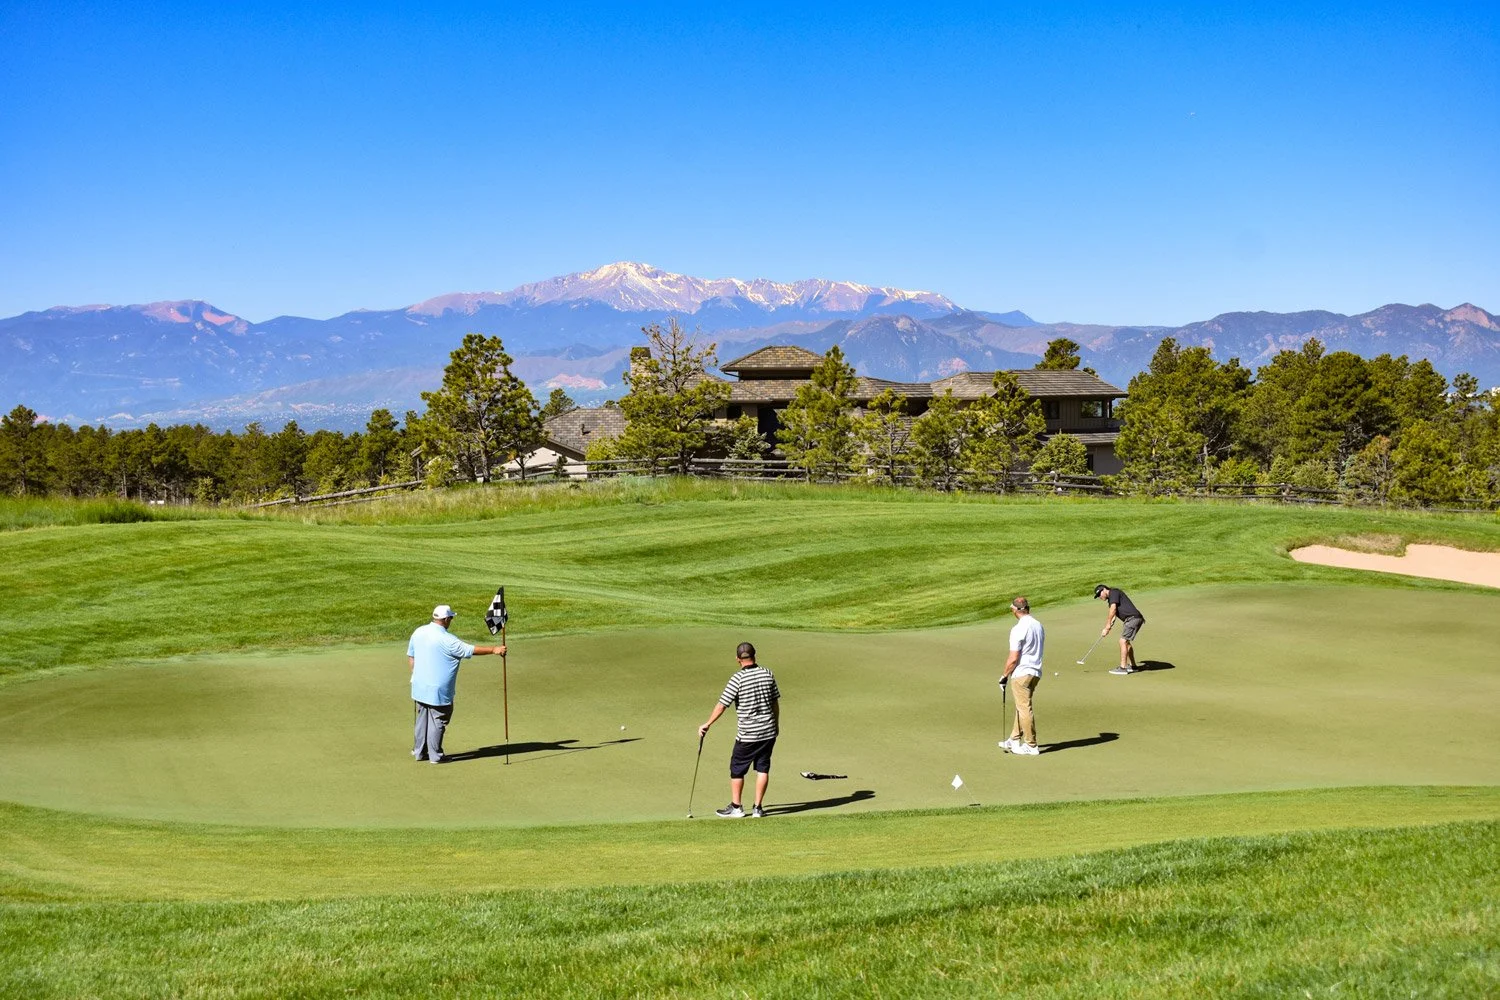
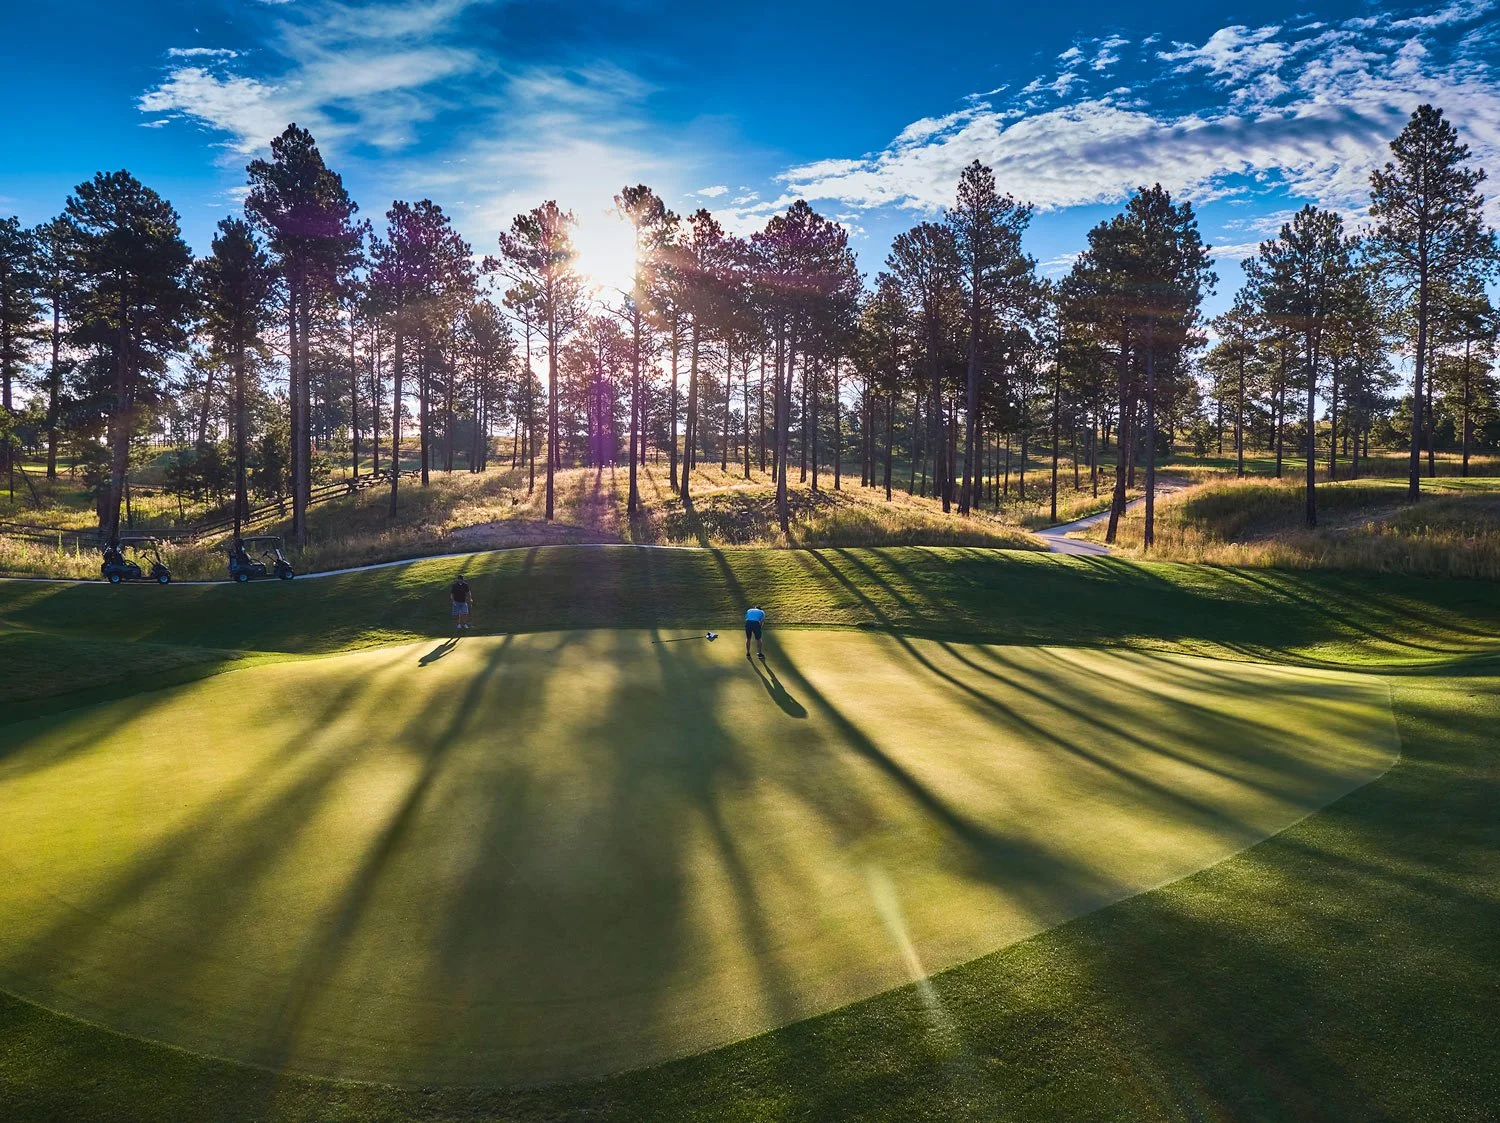
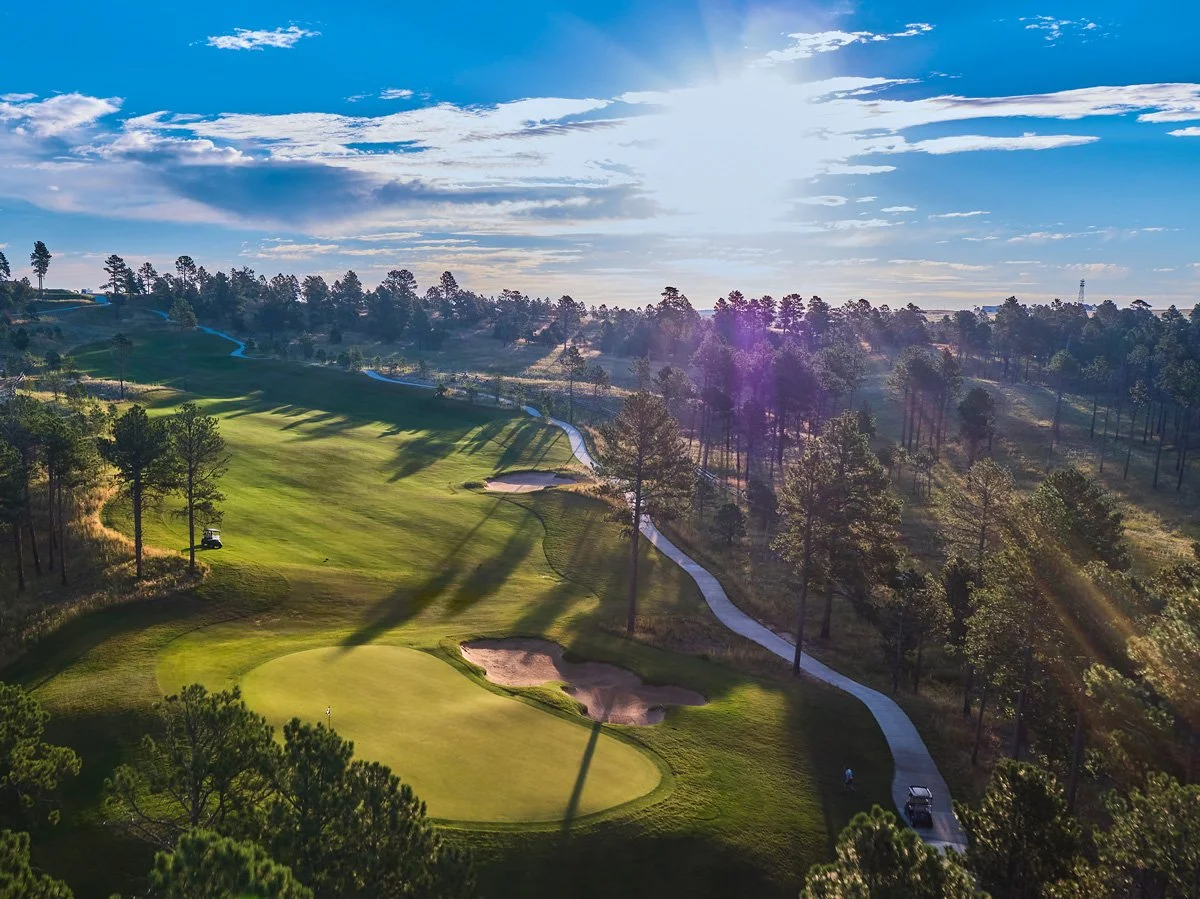
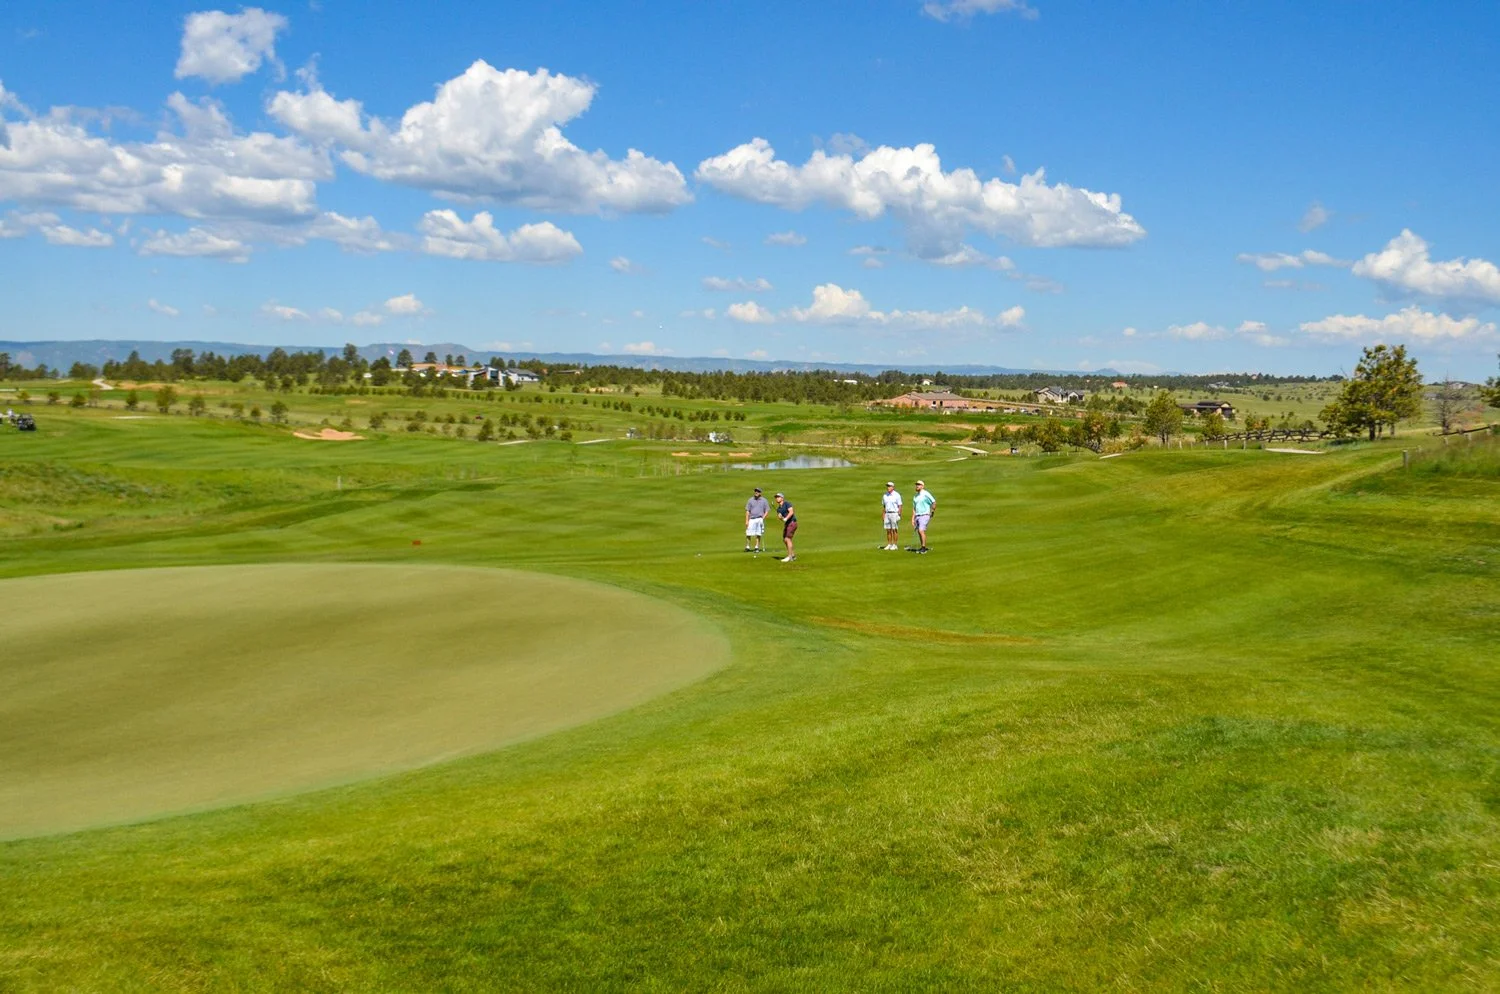
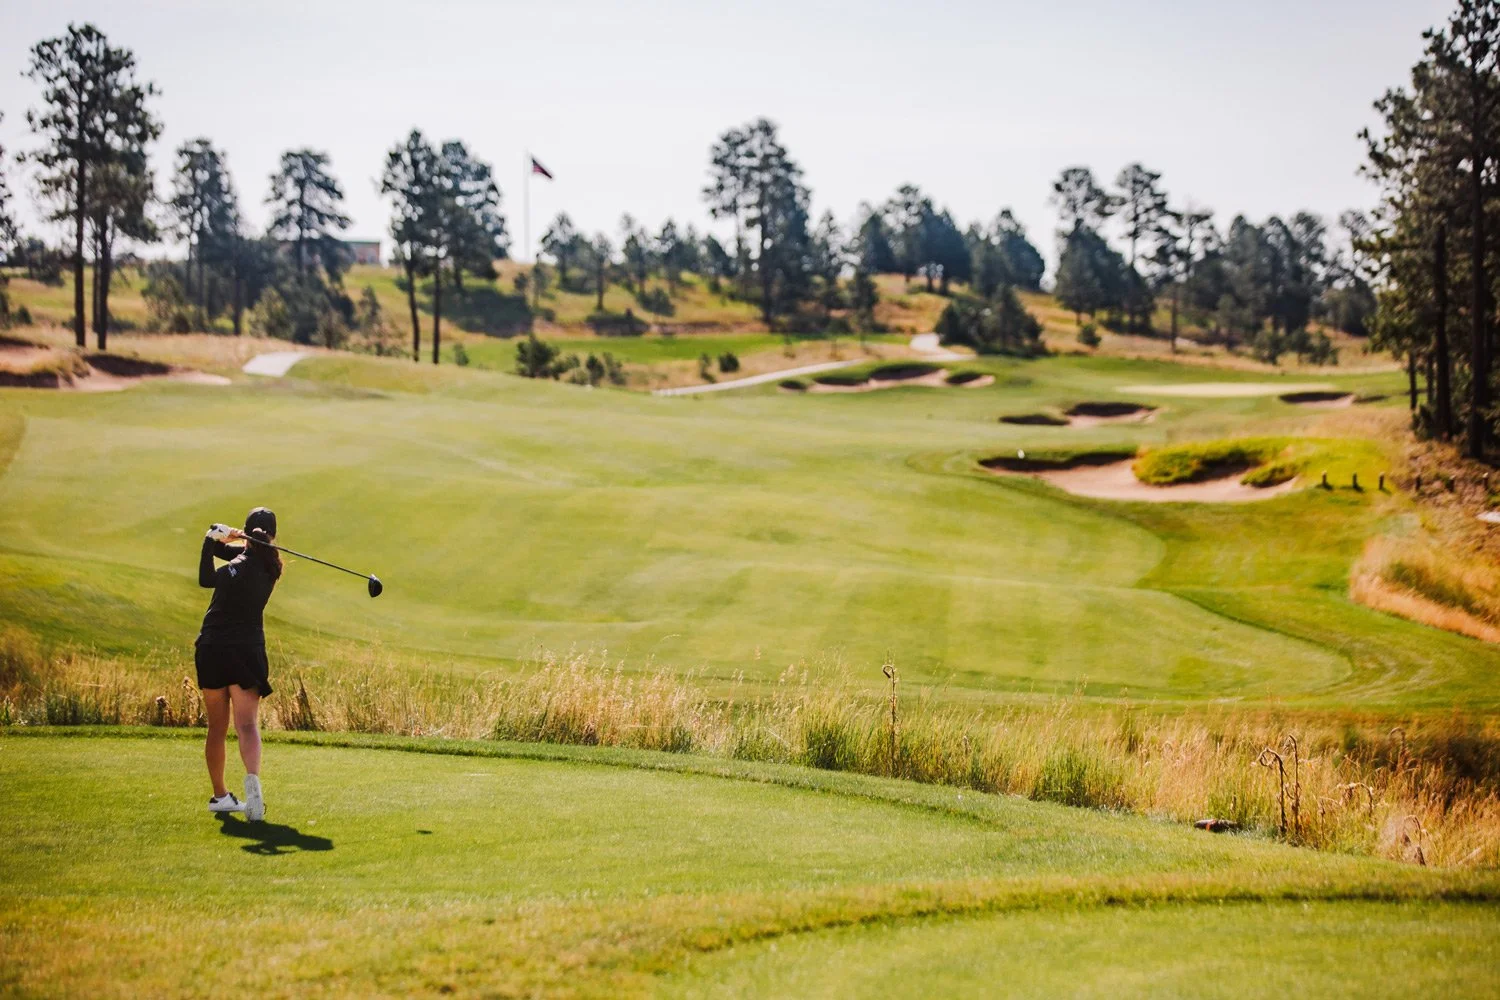
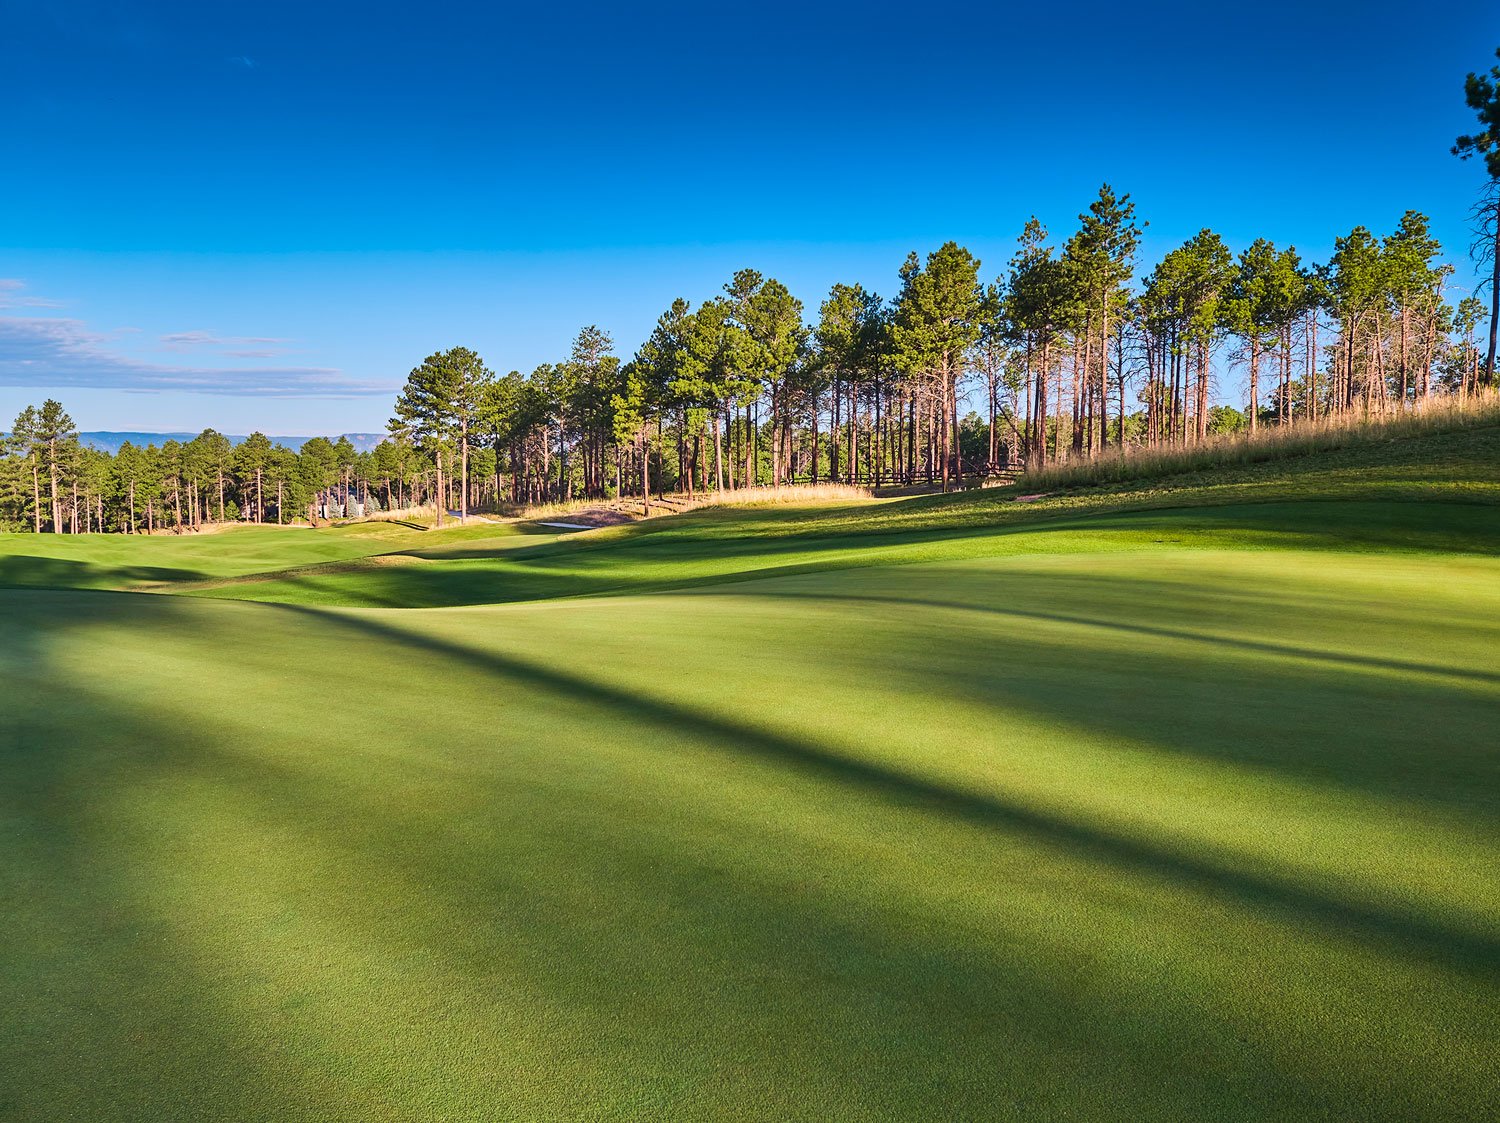
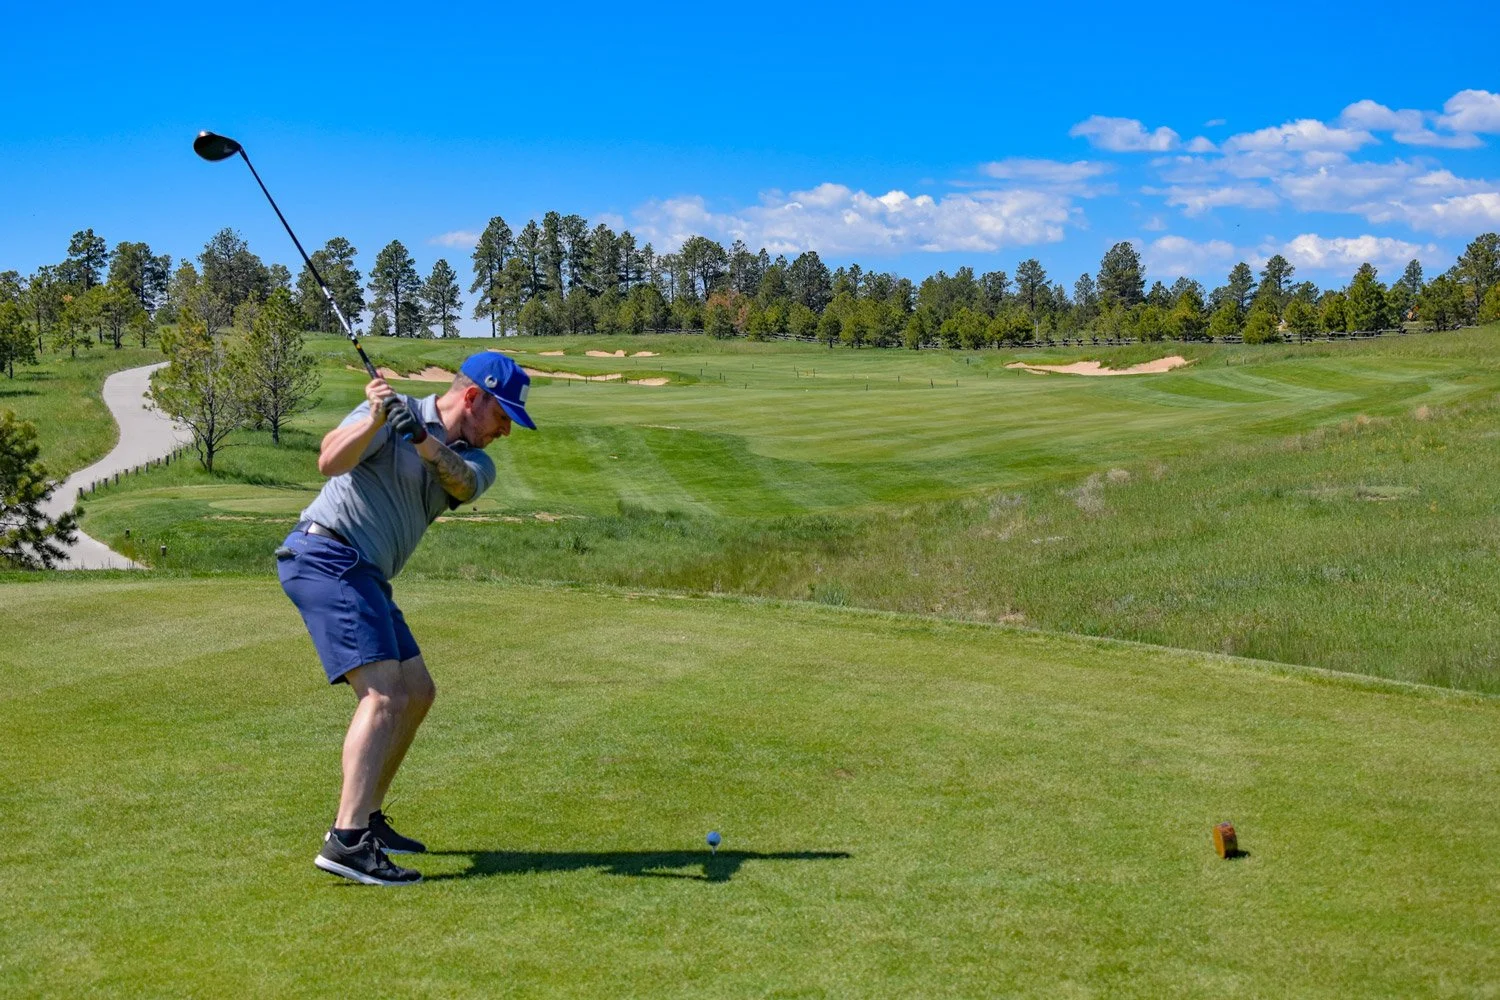
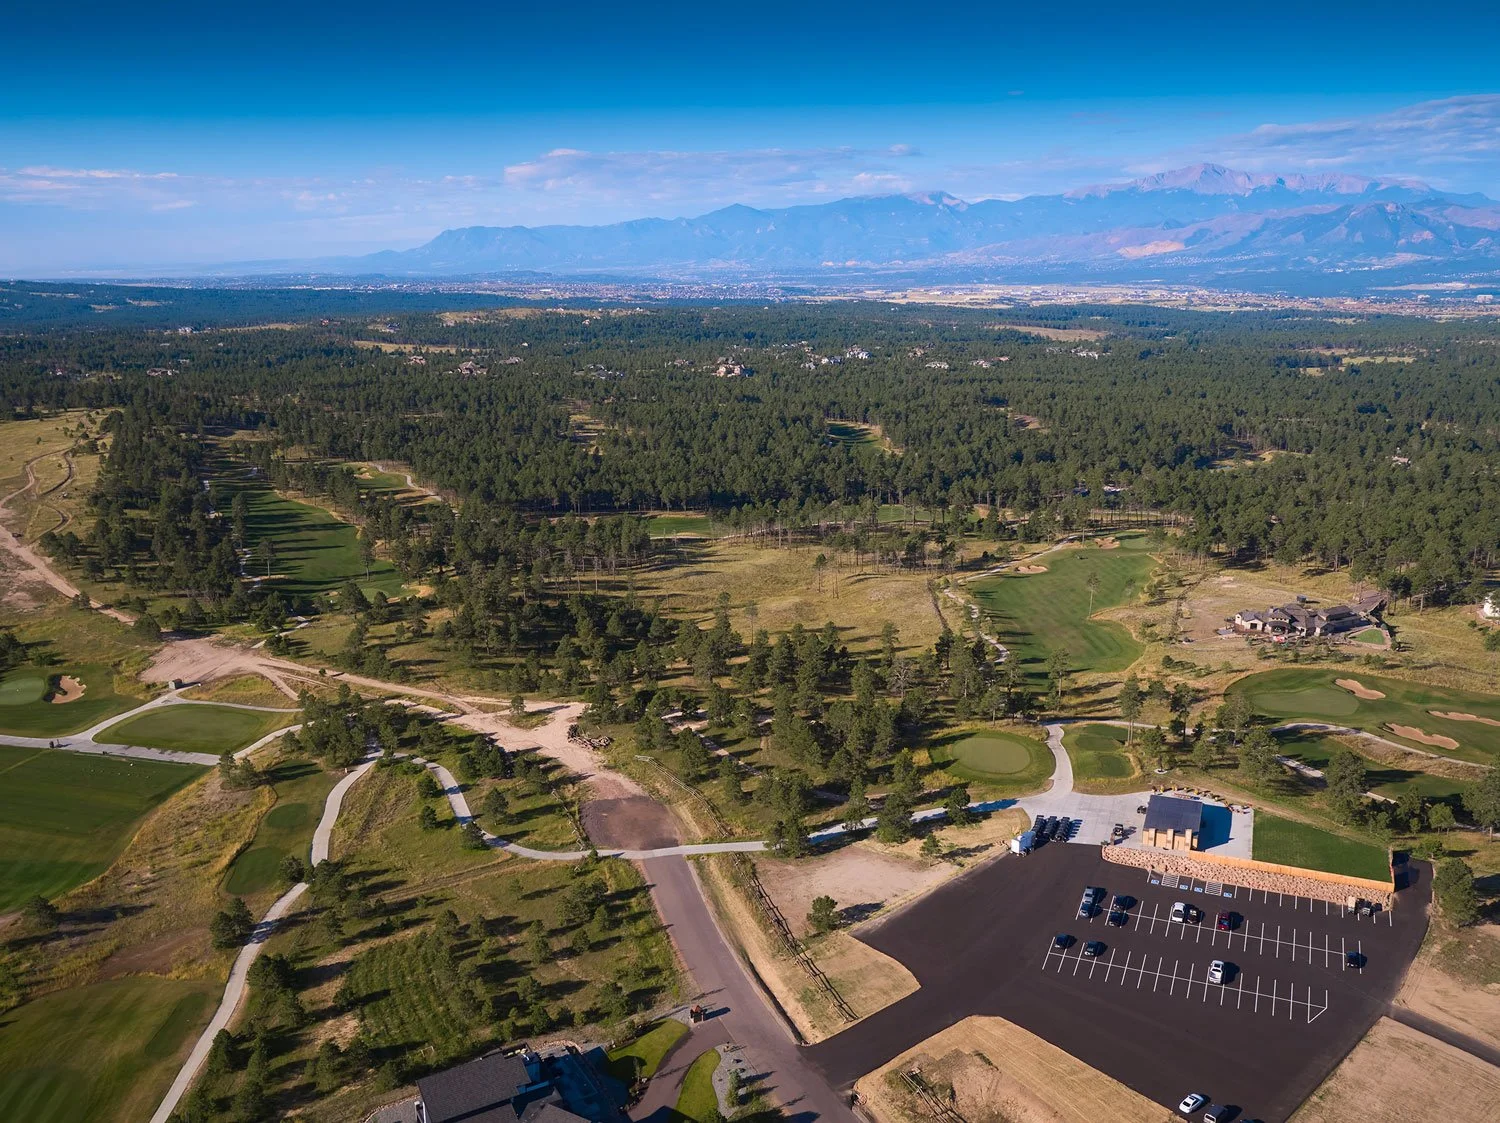
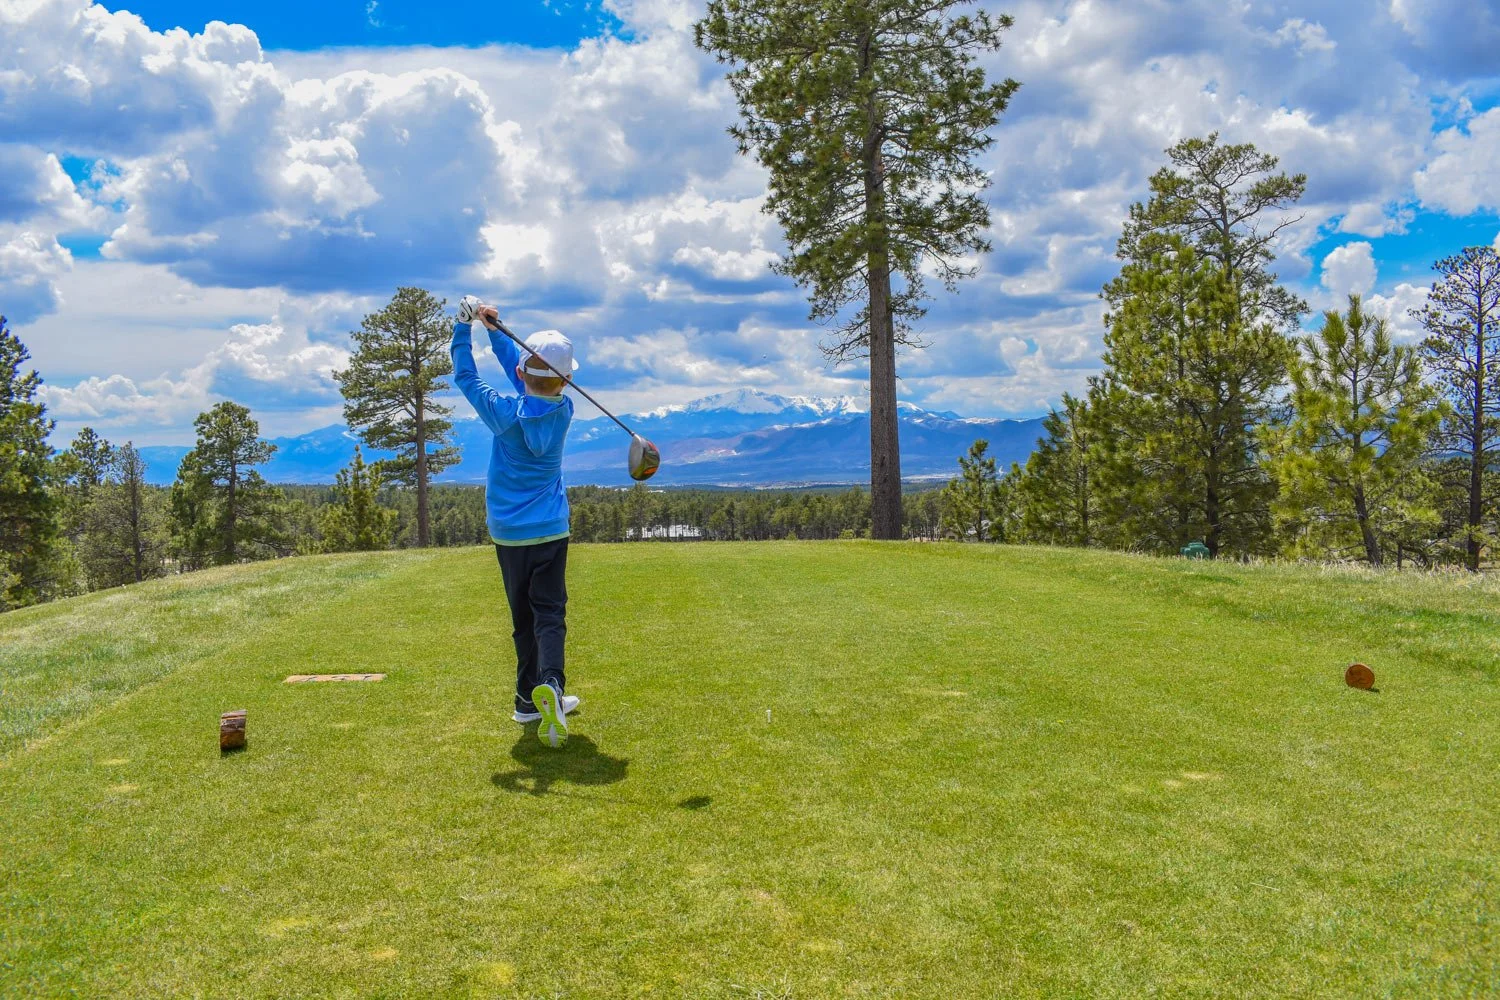
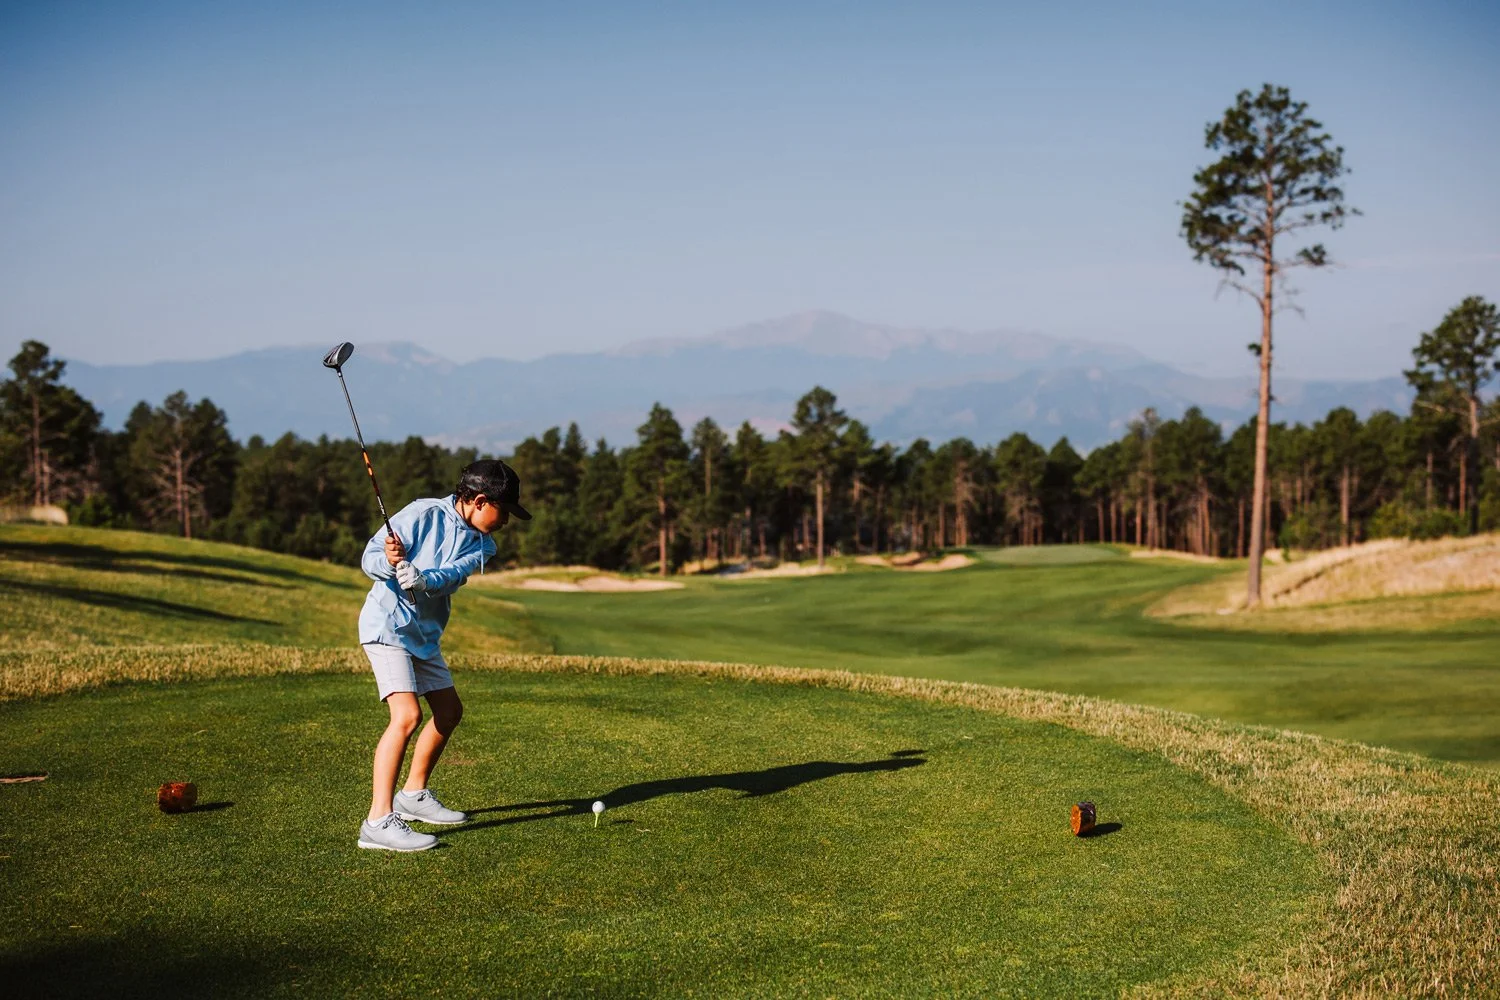
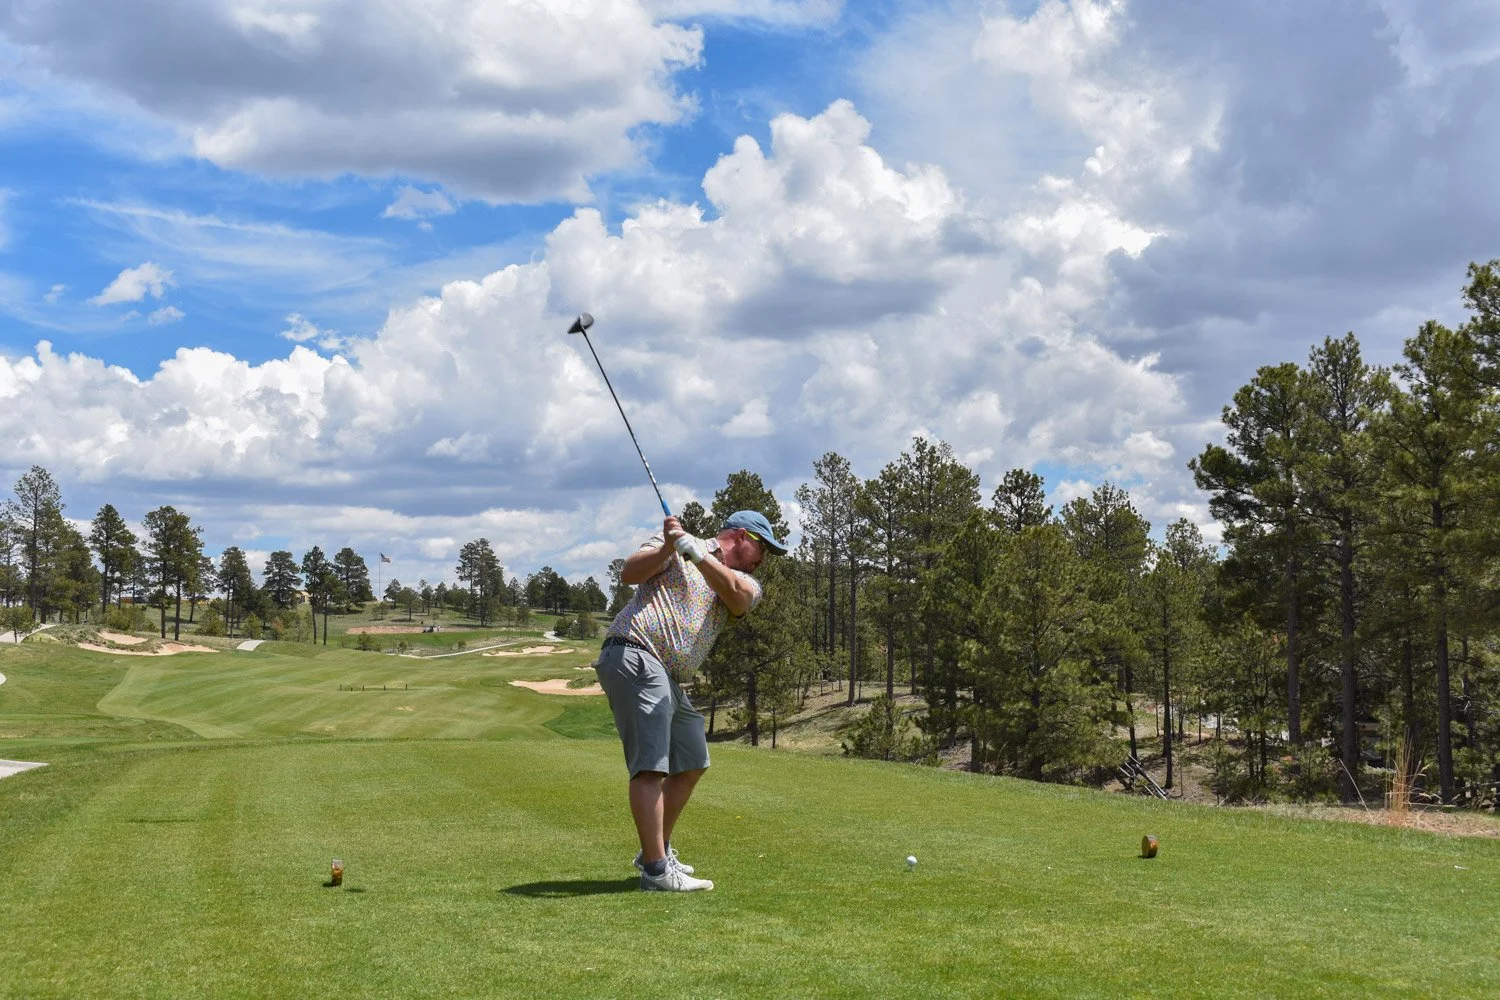
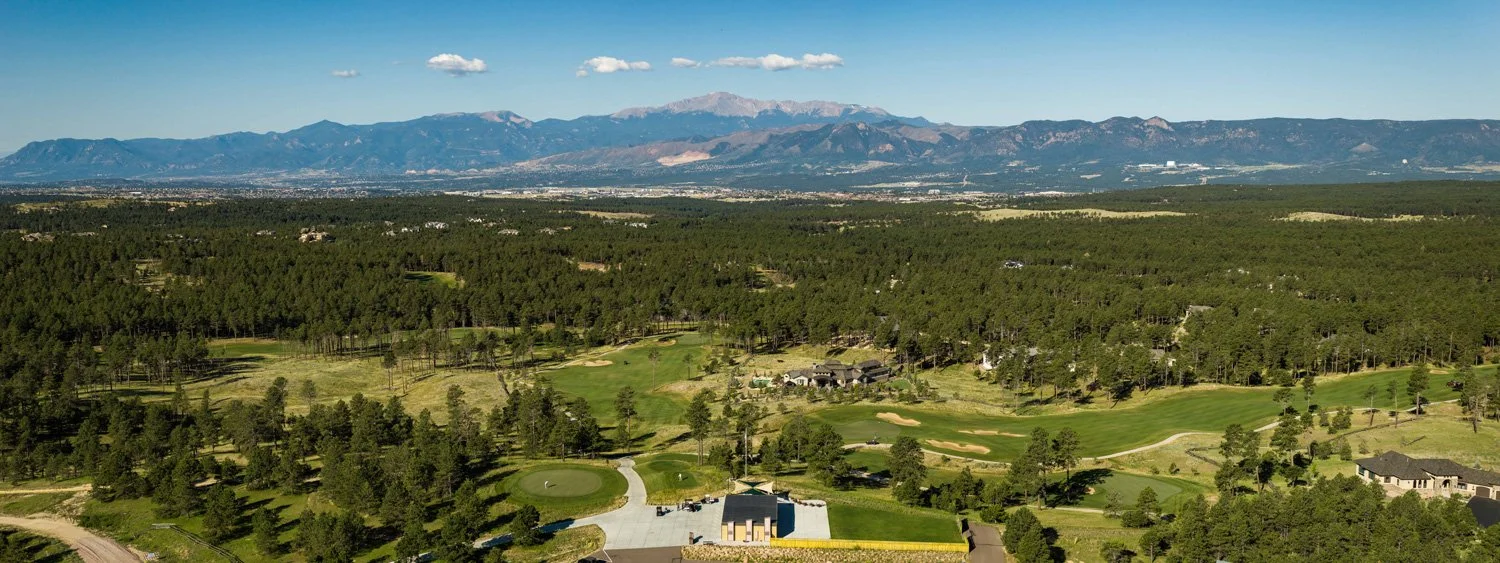
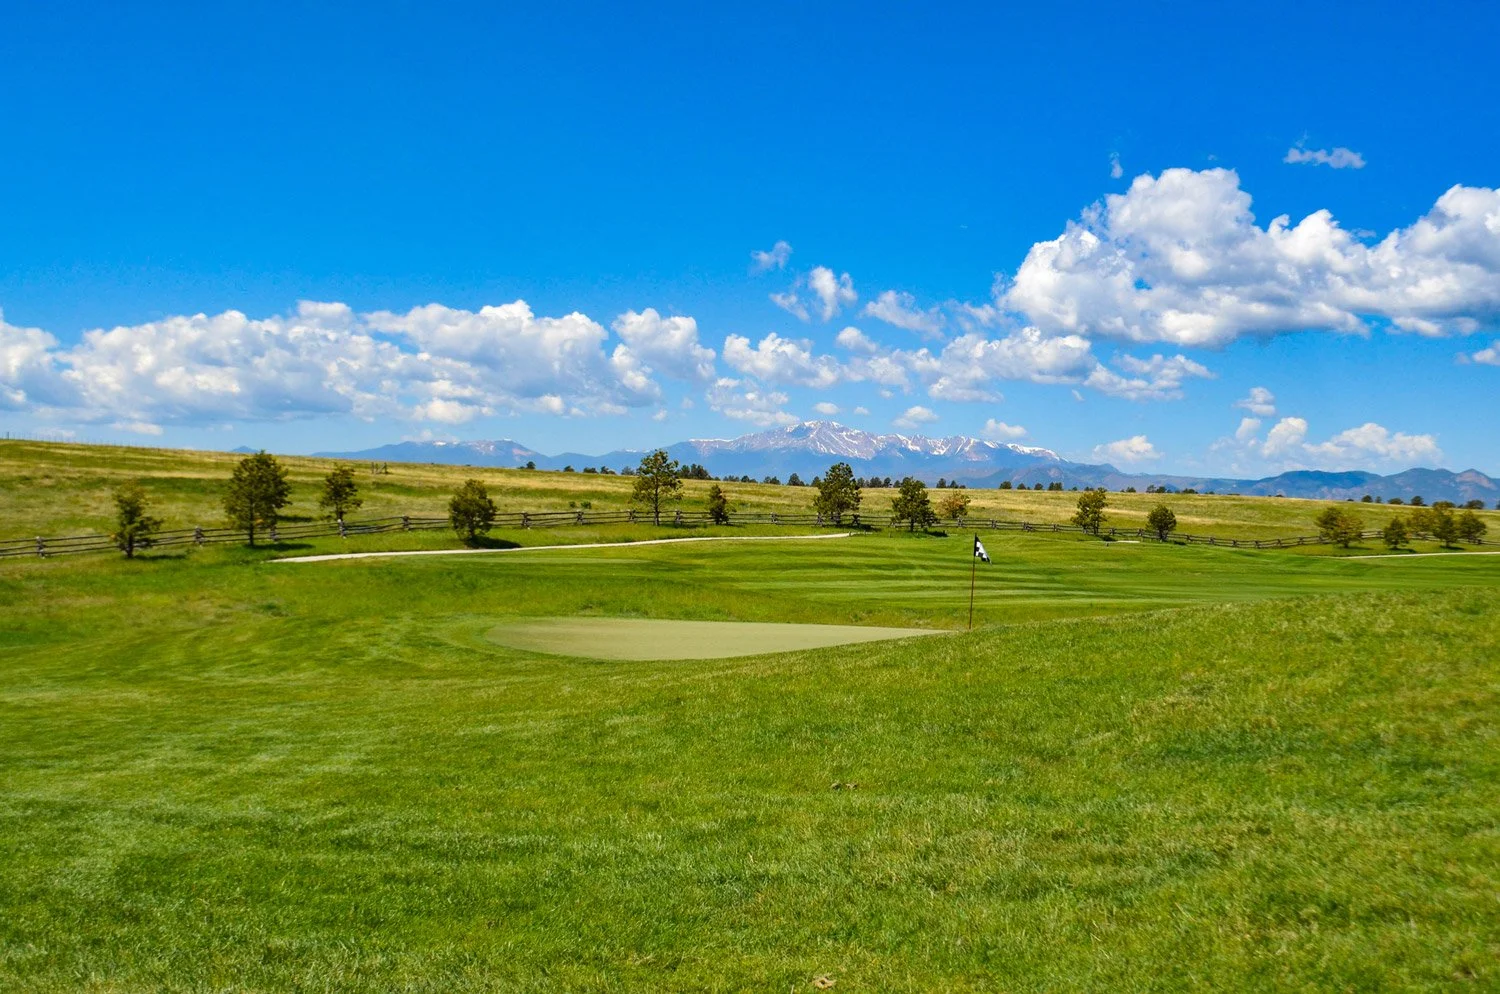
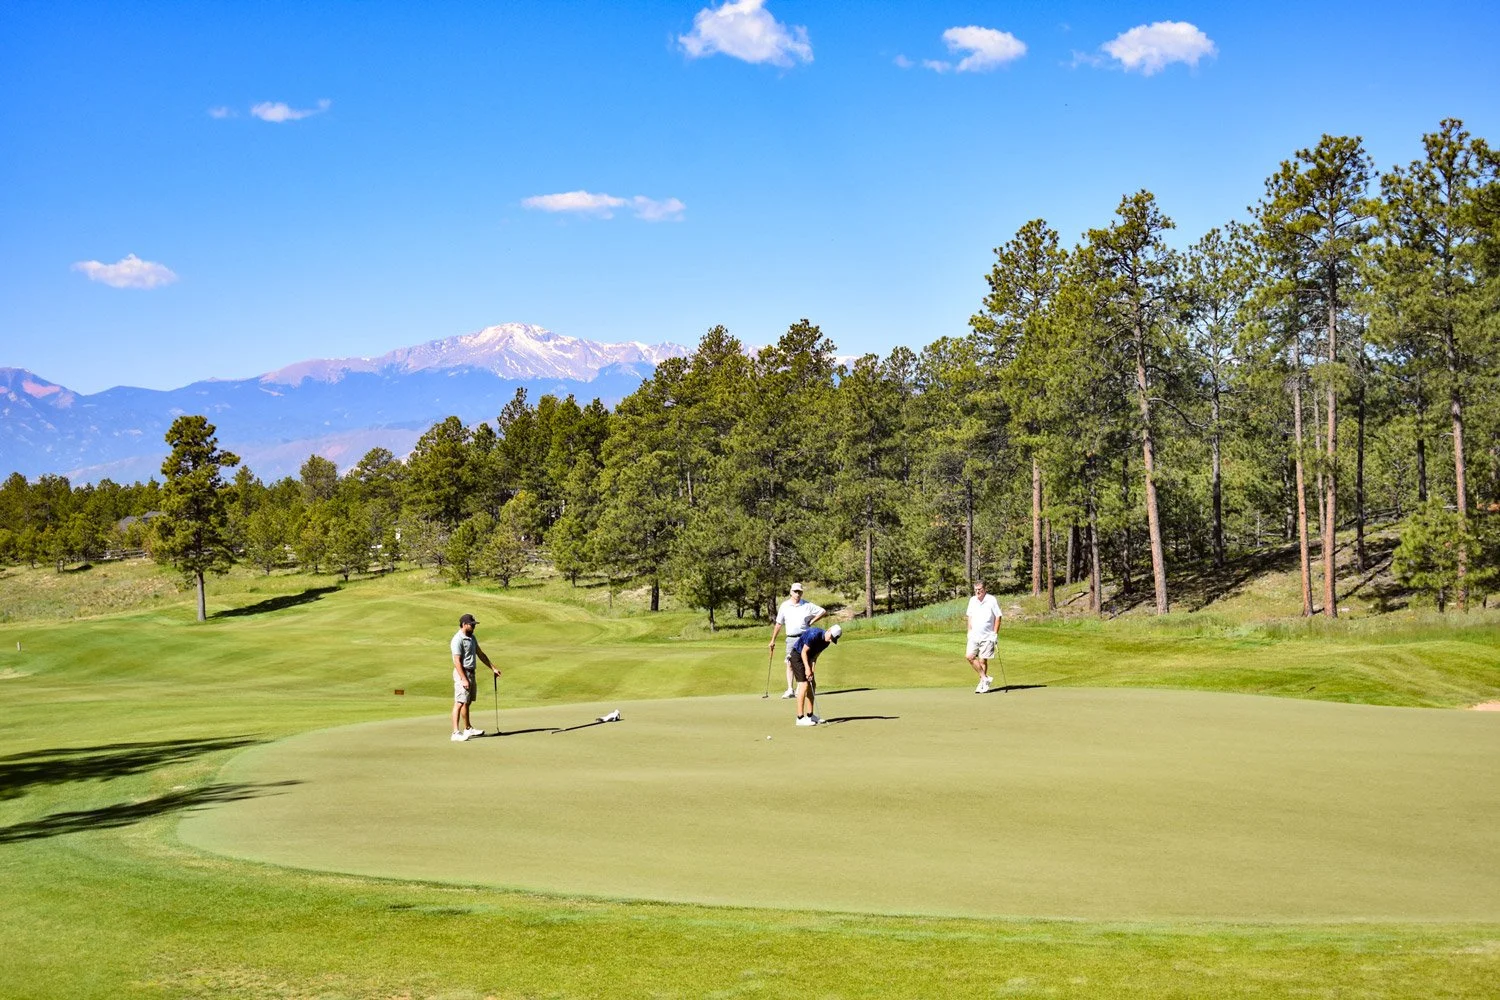
The second 18-hole championship golf course, designed by golf course architect Phil Smith, is intended to be as challenging as it is inspiring. Flying Horse North is a golfer’s dream within the astounding Black Forest area and presents open, firm greens with breathtaking views of the Front Range. North utilizes the natural landscape by winding through the forest and out into the prairie providing a variety of uniqueness from hole to hole. Tee-times are exclusively available to Resort guests and Members.
Colorado golf season runs May - October; there is no off-season available at Flying Horse North.
Flying Horse North Address (10 minutes from the Resort): 15268 Allen Ranch Road, Colorado Springs, CO 80908
rated as one of the Top 200 residential courses in the U.S. by Golfweek | 2024, 2025, 2026
Colorado’s #1 Public-Access Golf Course in the U.S. by Golfweek | 2026

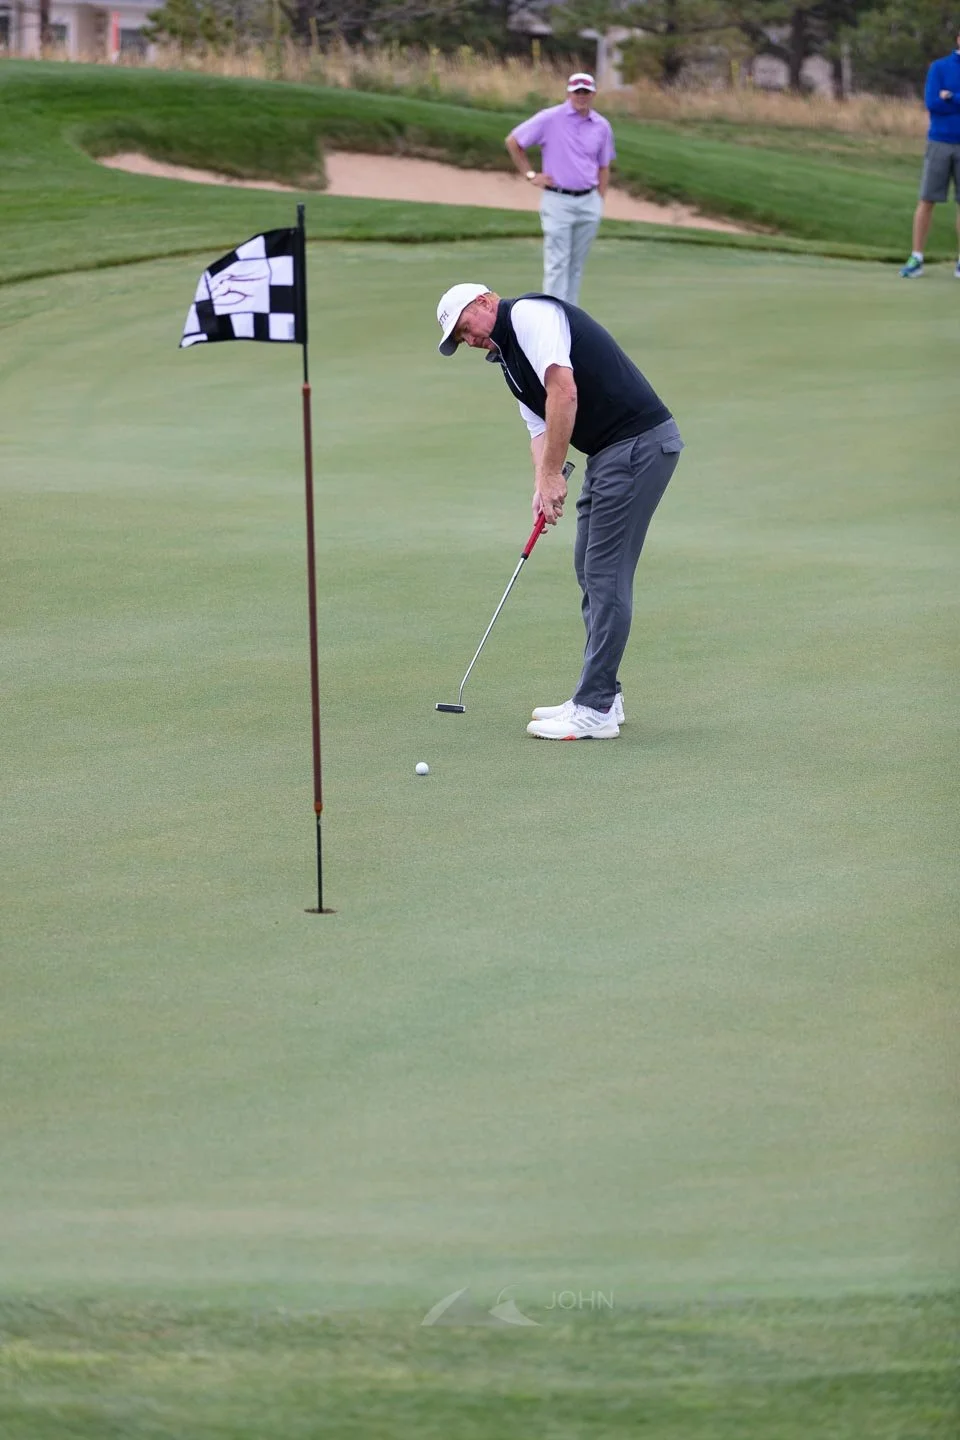
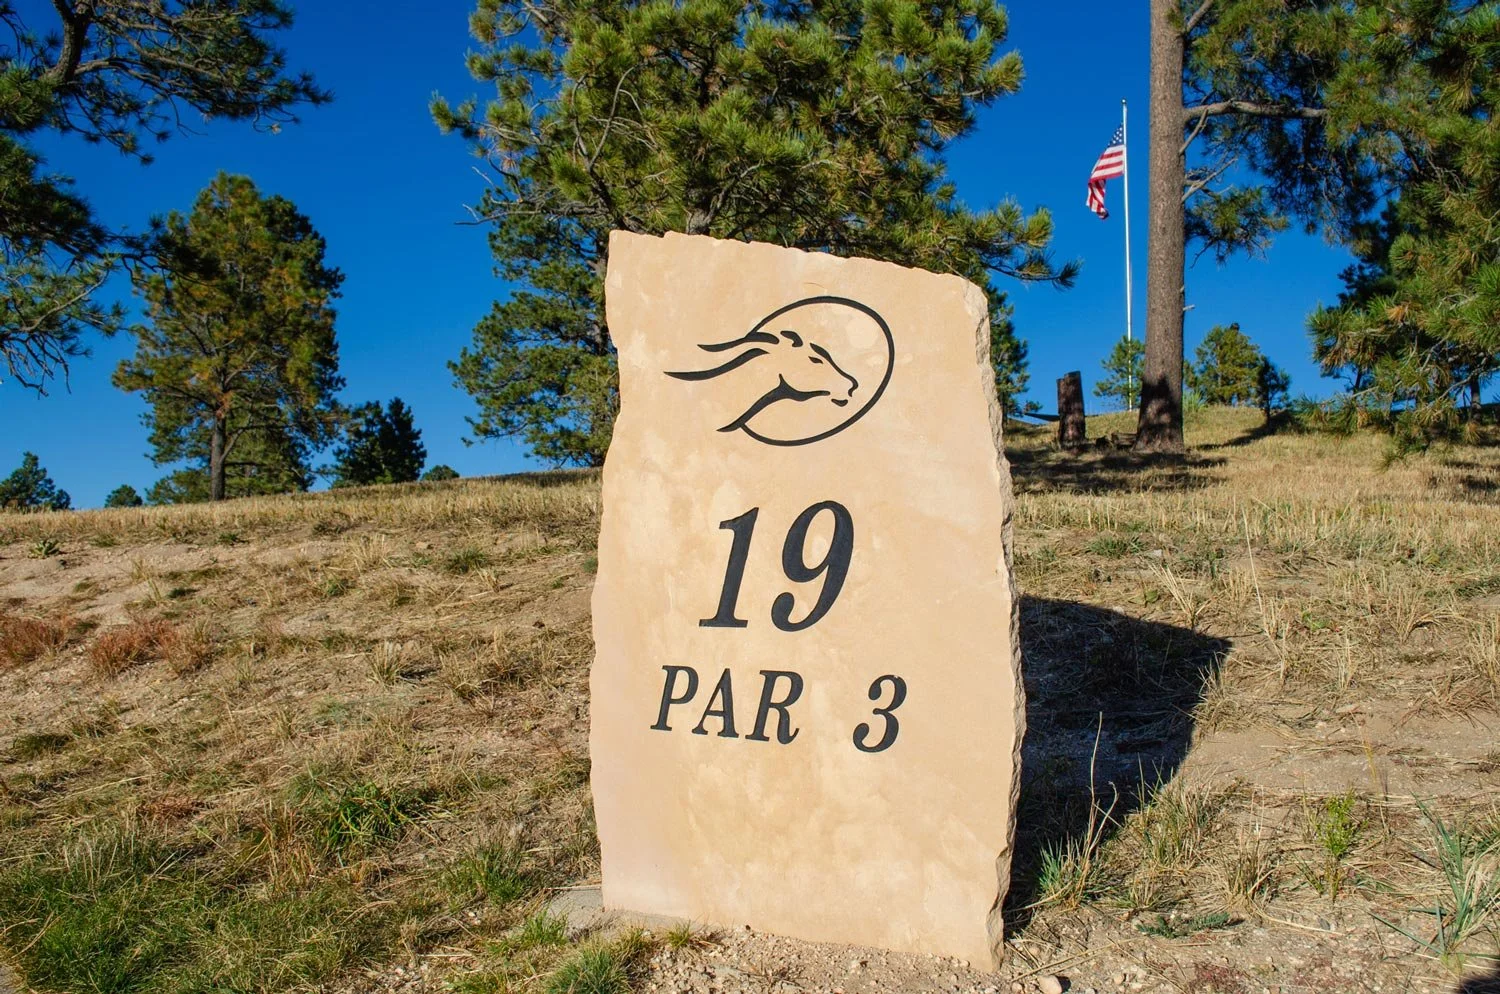
Three straight par 4s on holes 12-13-14 offer a combination of challenges. Golfers can settle a close match on the “extra” hole 19 where the green sits laterally to the tees with a deep pot bunker at the front of the green. This par 3 sees a lot of action from the clubhouse gallery.
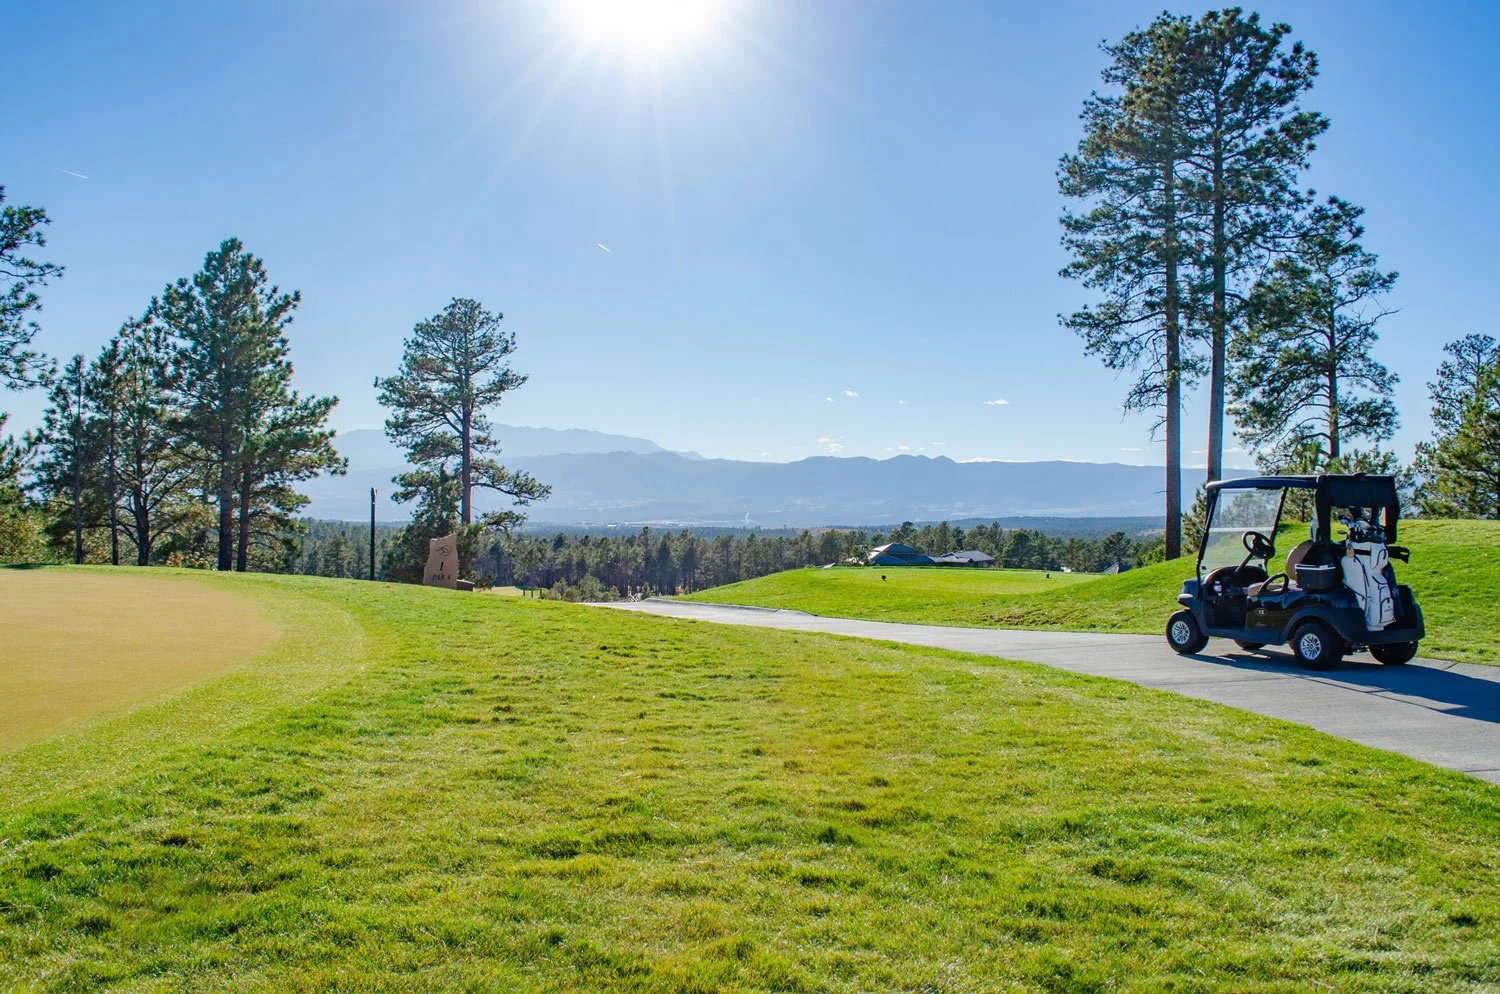
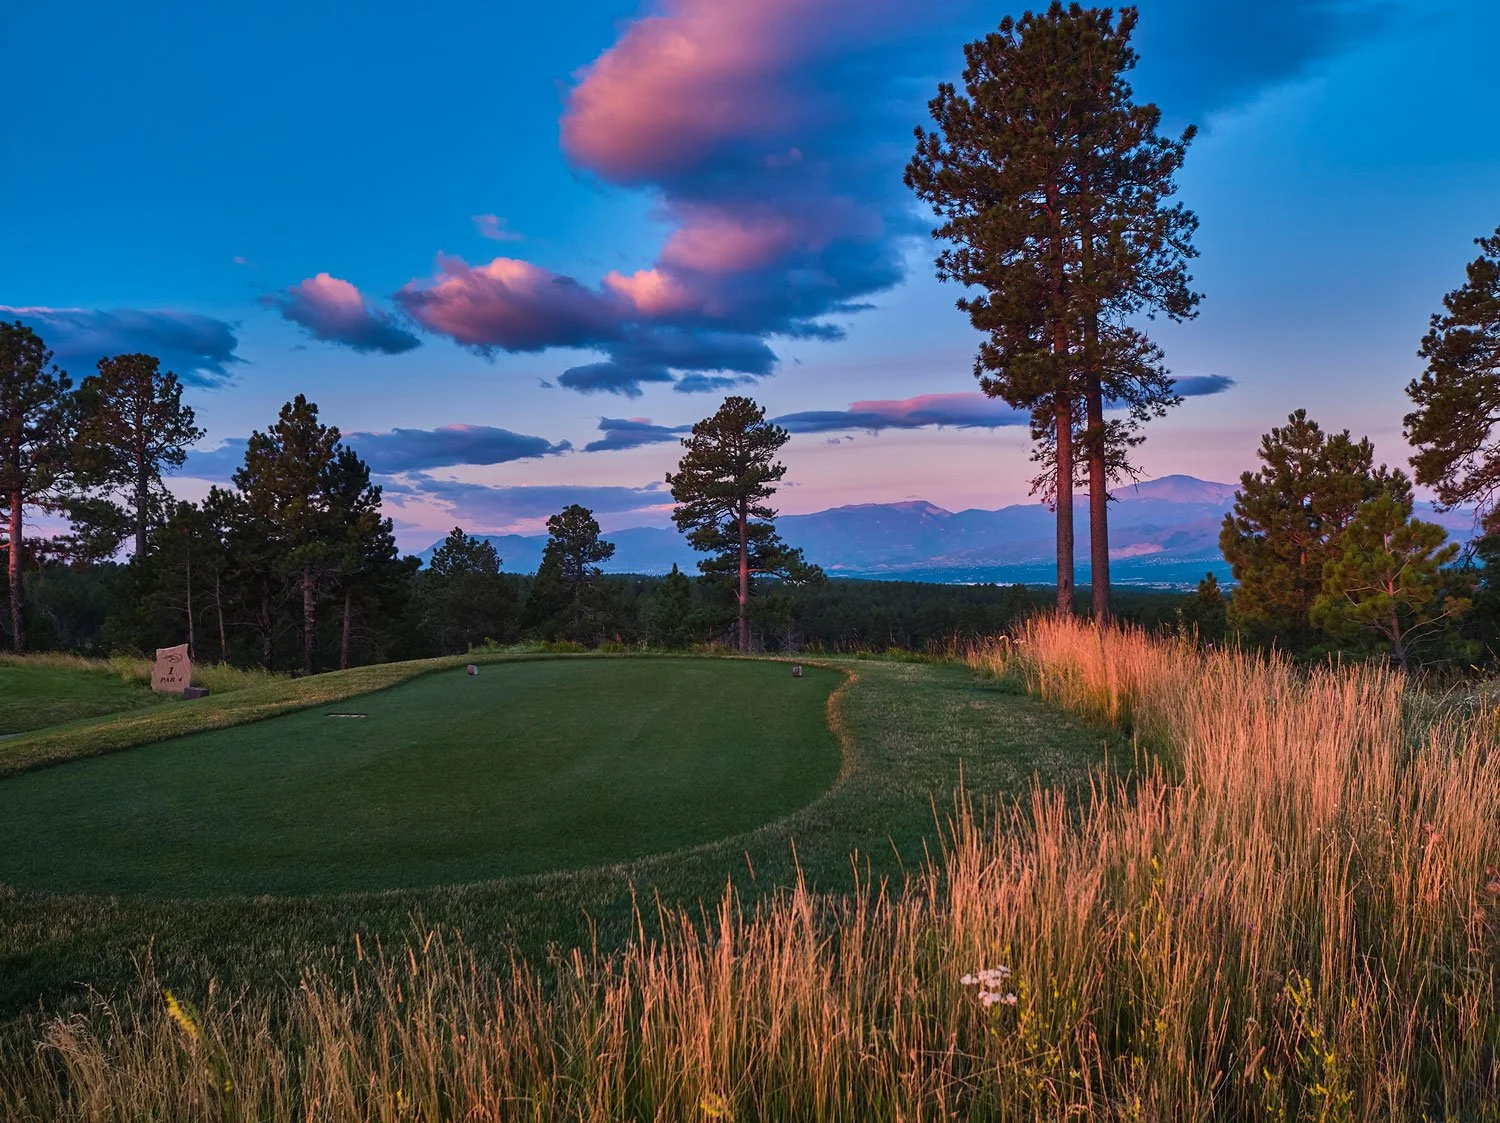
Hole #1 - Par 4


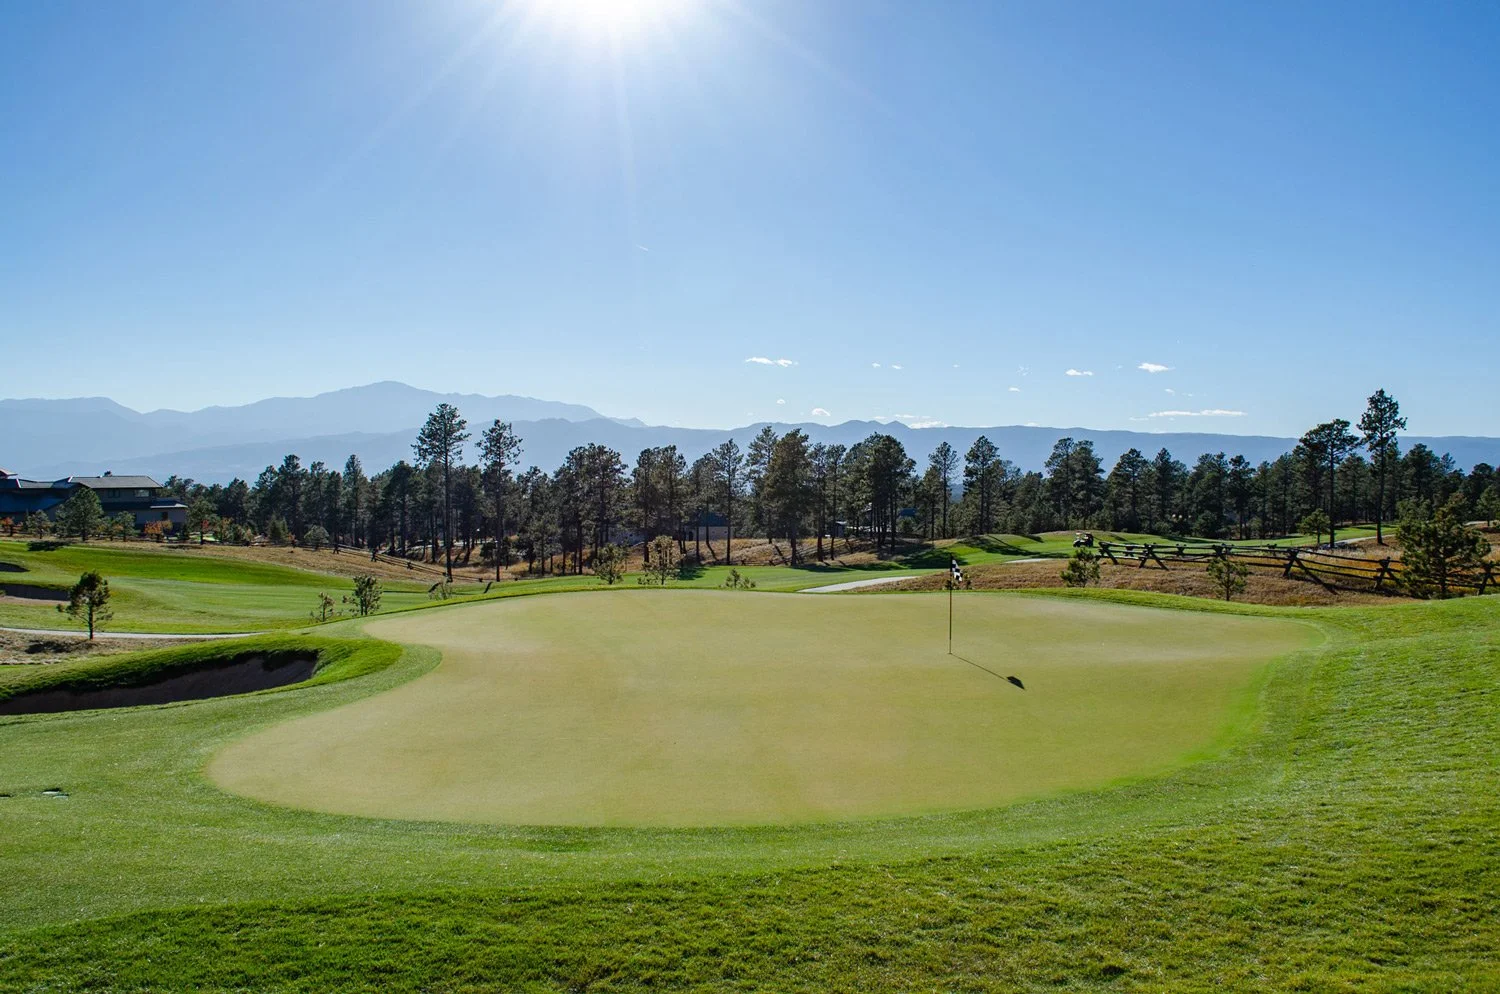
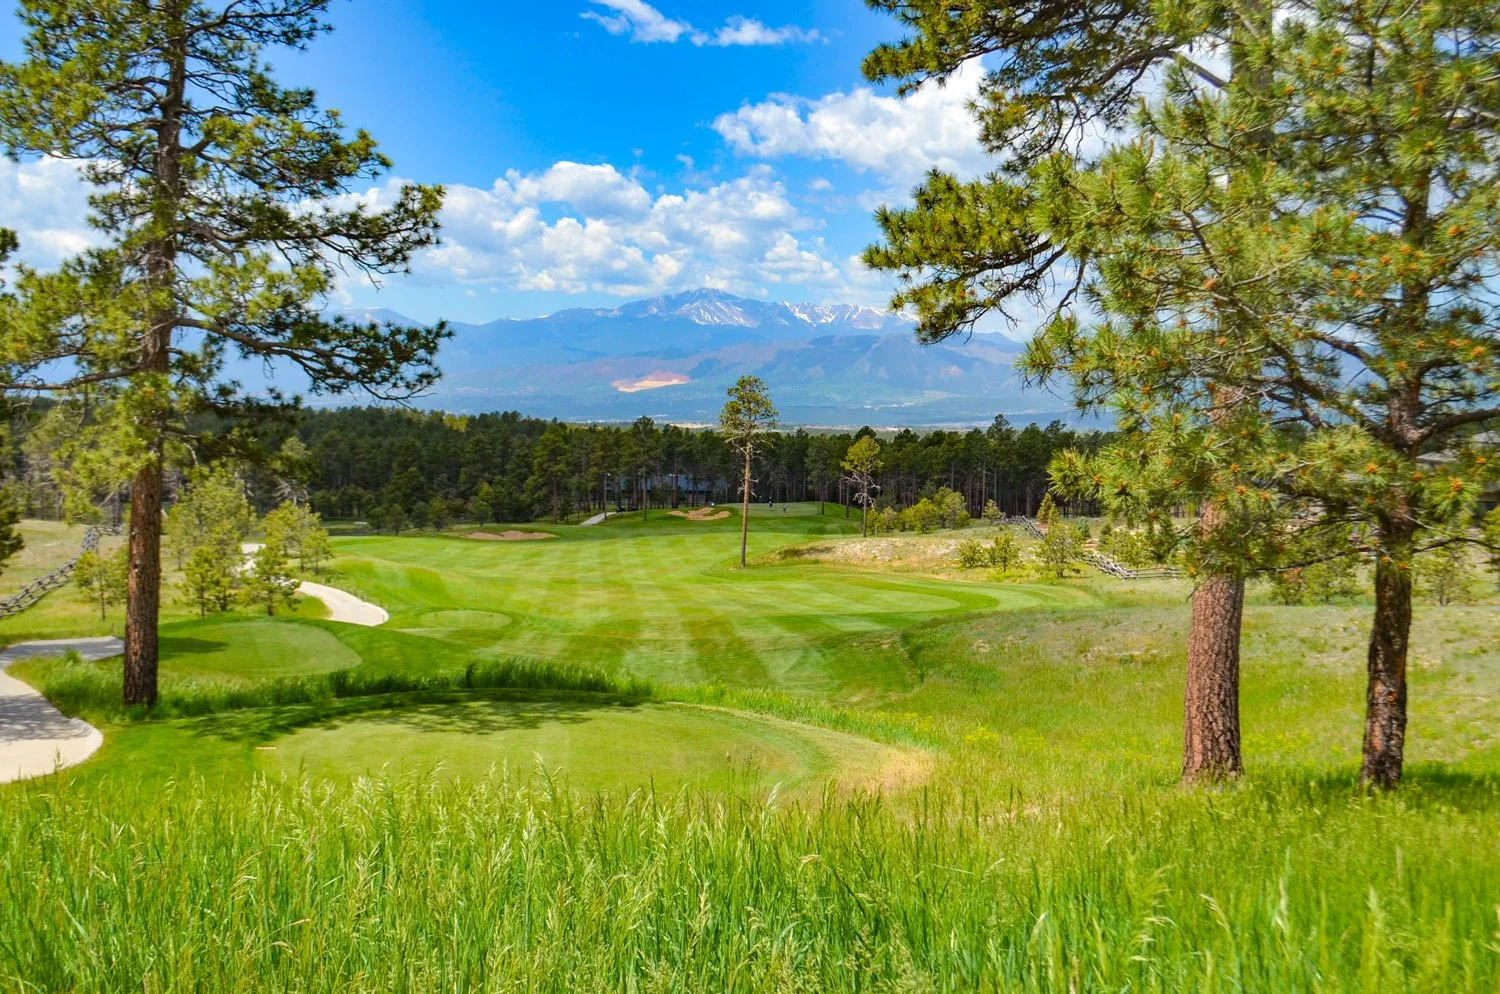
With Pikes Peak looming in the background, this medium length par 4 plays just over 100’ downhill and serves as a visually spectacular introduction to the Black Forest and the Flying Horse North Golf Course. A drive challenging the lone center Ponderosa Pine provides the best angle to approach the green. A large left greenside bunker guards against drives hit too far left toward the left fairway bunker. The green can be deceiving to the eye, as it breaks to the front and back left corner.
Hole #2 - Par 4


Although playing nearly the same yardage as #1, this 434 yard par 4 will play considerably longer uphill 35’ and into the prevailing wind. At 225 yards, the carry over the left fairway bunker should serve as the optimum aiming point from the tee. The second shot plays uphill about 25’ into a catcher’s mitt green. Any shot clearing the right greenside bunker will funnel nicely to any right side pin positions.
Hole #3 - Par 3


At nearly 200 yards, the first par 3 on the golf course plays slightly uphill. The cluster of right greenside bunkers offer a challenge to any pins located behind. The left front of the green is receptive to bump-and-run shots and provides several shot options from the tee. The green surface has several gentle undulations and drains to the front left, center right and back right corners.
Hole #4 - Par 4


This 430 yard par 4 should play true to the scorecard distances. No fairway bunkers were designed on this hole as the narrow fairway is adequately protected left and right by the existing stand of Ponderosa Pines. The green is surrounded by four well placed bunkers that cross from left to right and frame the backdrop. The shot into the green is crucial, as the putting surface has the most undulations and elevation change of any other on the course.
Hole #5 - Par 5


The first par 5 on the golf course is the first of the next six holes to play from the prairie side of the Palmer Divide. This 538 yard par 5 meanders gracefully downhill 50’ between strategically placed bunkers. Play as tightly as you dare to the first right fairway bunker to provide the best chance to reach this green in two. Clear the right cluster of bunkers in the second landing area to gain the best bounce-in angle to the smallest green on the golf course.
Hole #6 - Par 3


This challenging 190 yard lakeside par 3 has two separate teeing grounds to in which to choose from. The right tees offer a 20’ elevated view to the green, while the left (Lakeside) tees are placed perfectly level to the green. Feeding the ball from the right is the safe play, however, challenging the long front left bunker will generate the most birdie opportunities. The back right greenside bunker will capture any shots shying too far from the lake. This hole will play especially long into the prevailing southwest wind.
Hole #7 - Par 4


Don’t be deceived by the width of the fairway, as one of the most exposed tee shots on the golf course awaits on this uphill par 4. The fairway pitches from left to right and requires an accurate read of the conditions before executing. The long narrow turtle back green feeds from left to right and will require an accurate approach shot to hold the putting surface that features a strong false front.
Hole #8 - Par 5


At 553 yards, this downhill par 5 will be reachable on days when the wind is from the south. Avoid the dry creek along the right all the way along this prairie hole. The second shot should challenge the left fairway bunker to bounce-in toward the approach. The green is designed in a classic “redan” style from left to right.
Hole #9 - Par 4


At nearly 450 yards the par 4 final hole on the front nine will play even longer into the prevailing wind and slightly uphill. Use the right fairway bunkers as an aiming point or challenge the tree-line along the left to trim a few yards off the overall length. The small green is surrounded by four bunkers and is separated into two hemispheres by a ridge through the middle.
Hole #10 - Par 5


The last prairie hole and the longest par 5 on the golf course will only be reachable for most golfers on days when the wind is from the north. Carefully placed fairway bunkers must be avoided on both the tee shot and second shot. A yawning pot bunker protects the front center of the green that is also flanked on the left by an equally imposing bunker. The putting surface is divided by soft ridges and valleys throughout.
Hole #11 - Par 3


This picturesque downhill 170 yard par 3 re-enters the Black Forest in spectacular fashion. The long narrow green is protected all along the left by an equally long deep bunker. The safe play is short right, as the slope will direct these shots toward the green. The putting surface is highlighted by a meandering swale through the center.
Hole #12 - Par 4


“Grip it and rip it” on this nearly 480 yard par 4. The wide open fairway is designed to invite the longest of hitters to let loose. The view of the front-range and Air Force Academy frame the backdrop to the second shot. Aim directly over the right edge of the left fairway bunker to feed the ball onto the green for your second shot, or try to fly it directly on to the large green for the best chance at attacking the longest par 4 on the course.
Hole #13 - Par 4


This par 4 dogleg right requires a carefully placed fade tee shot. Avoid the bunkers left and challenge the trees on the right to have the best angle to this lateral green. The green contours are designed to feed the ball from right to left and will reward a well placed drive. The bunker behind the green will save shots before they bound into the native grasses.
Hole #14 - Par 4


In contrast to #13, this dogleg left requires a carefully placed draw from the tee. The dry creek and wetlands along the left side of the hole must be avoided at all costs. A large tree on the left side of the fairway can cause a challenge for the approach to the green. The putting surface is highlighted by an upper right crescent, flanking a lower valley on the left on this scenic par 4 hole.
Hole #15 - Par 3


This downhill 215 yard par 3 is designed to create visual deception. The front bunker appears to be placed tightly to the green, but in actuality is located 25-30 yards short. The player may opt to fly the ball directly at the pin, or play a club short and bounce the ball on the green. The two bunkers right of the green are designed to catch stray shots heading for the dry creek. Be wary of the large tree right…it will create some havoc as well. The green surface is designed to have soft contouring, but is challenging to read the breaks.
Hole #16 - Par 4


This par 4 requires the player to make a decision off the tee. Play safely to the wide left side of the center fairway bunker and be presented with a challenging second shot over the left greenside bunkers, or take the risk and thread your drive toward the narrow right fairway and be rewarded with a great angle to the green.
Hole #17 - Par 4


This short 350 yard par 4 requires the player to make an equally demanding decision from the tee. Challenge the rocks on the left and carry to the upper fairway to cut distance and create the best angle to the green. Or play safely to the right and be left with a challenging 2nd shot that could be blocked by the trees in the center of the fairway to an elevated green. The amphitheater green is protected on the right by a deep bunker and an aiming bunker above the back right.
Hole #18 - Par 5


One of the most picturesque views on the golf course awaits the player on the par 5 #18, as the entire hole is visible from the tee. Split the right and left fairway bunkers to create the best chance to go for the green in two shots. The deep center fairway bunker at the second landing area will catch many approach shots that are not struck purely. The green is very receptive and will yield a few eagles and birdies as a reward for a fun round of golf.
Hole #19 - Par 3

Settle your close matches or begin a new bet on this fun 100 yard “extra” hole. The green sits laterally to the tees with a deep pot bunker at the front of the green. This par 3 should see a lot of action from the clubhouse gallery, as well!

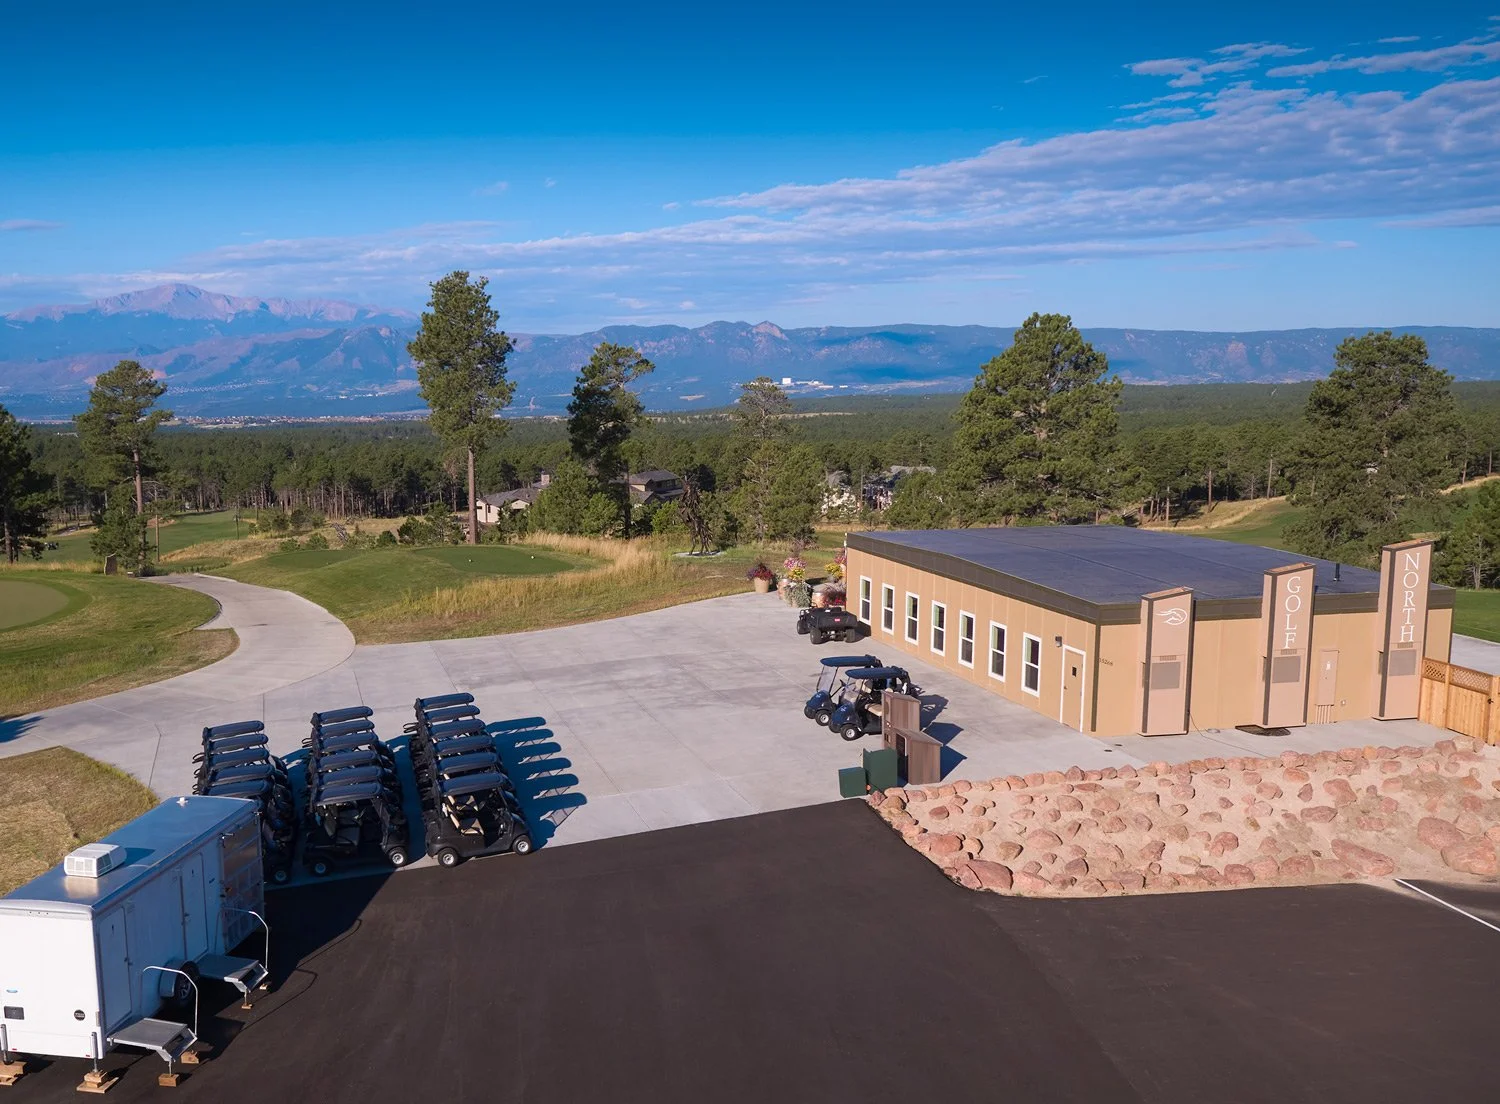
North Clubhouse
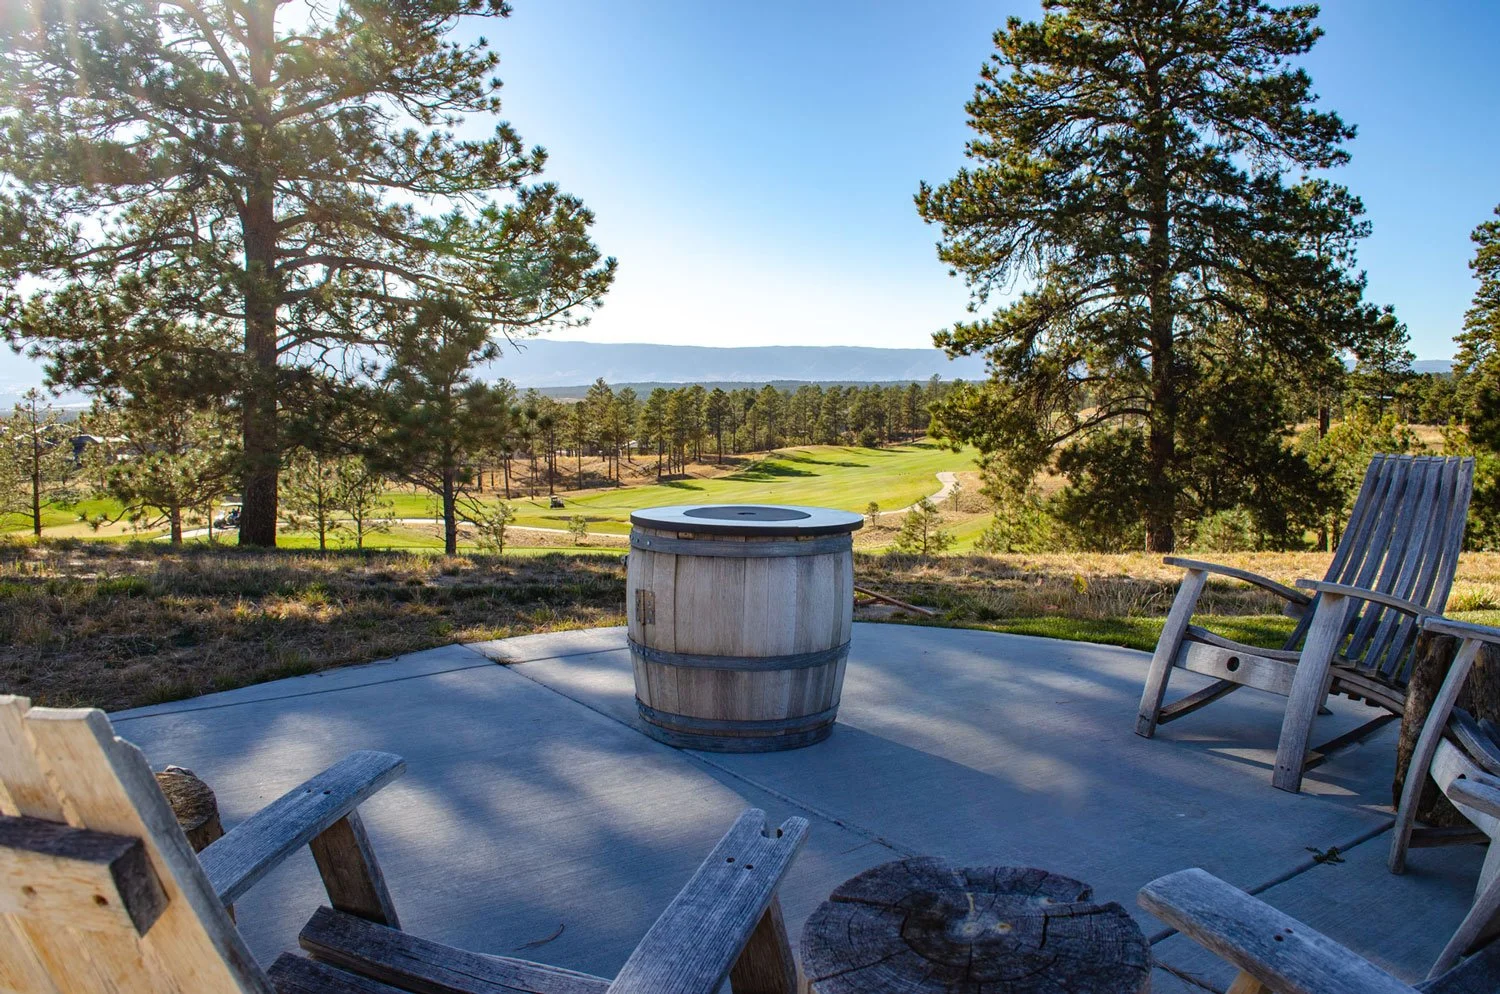
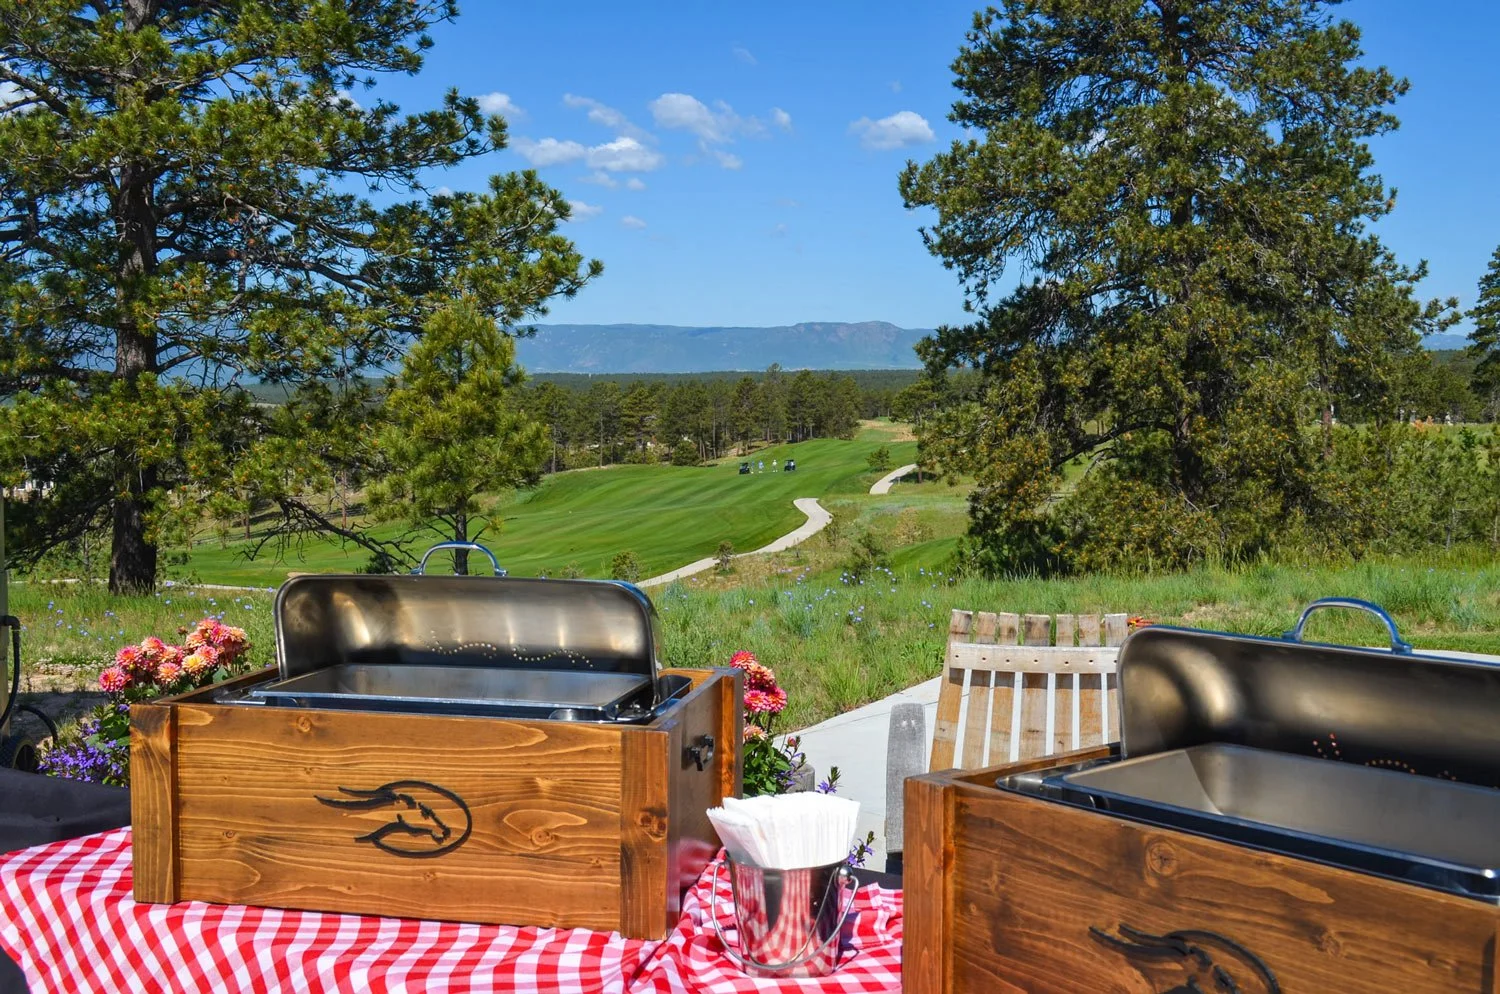
The North Golf Clubhouse offers a warm welcome with a well-stocked golf shop featuring premium apparel, equipment, and gifts. Refuel before or after your round with fresh, casual fare, and enjoy a full selection of drinks, from craft cocktails and wine to local beer, served with relaxed clubhouse comfort and course views.
Signature Membership
Learn More
Become a Signature Golf Member and enjoy premier access to Flying Horse North, featuring 10-day advance tee times, unlimited play across 36 holes of championship golf, and full access to all club amenities.


Contact the Flying Horse North Clubhouse
Contact our Professionals at the Golf Shop via the form below, or by calling 719-370-3102.
Please note that both courses are private and are available for play to Resort Guests.